Everything You Need to Know About Our Furnishing and Space Planning Design Process

Everything You Need to Know About Our Furnishing and Space Planning Design Process

christmas tree in living room

Not every project is a full renovation. Sometimes, the structure of a space is just right, and all it needs is some fine-tuning and finishing touches. If you have a blank canvas ready to plan, furnish, and decorate, Spotted can help! Let us take you through what to expect from our furnishing and space planning services, step by step, so you can trust us to help you create the beautifully designed space you’ve always dreamed of.

Step 1: Gathering Inspiration and Getting to Know Your Space

The first step in any design journey is understanding the client’s vision. Whether you send us inspo photos from magazines or curate a Pinterest board, we want to see what inspires you – because that helps inspire us to design your dream space. We’ll also take photos and careful measurements of your existing space so we can ensure each piece of furniture and every decor element will fit perfectly.

Step 2: Concept Boards and Space Planning

Using your input and inspiration, we’ll create initial concept boards to start visualizing your design, create a 2D, overhead space planning layout to map out the space, and make some initial selections for furniture, colors, and decor. You’ll start to see your vision coming together – and where you might want to make changes to ensure we’re designing the perfect space for you.

Of course, design is a collaborative process. Over the course of several meetings, we’ll work together to refine your design, making edits, exploring additional options, and fine-tuning every last detail until your design aligns perfectly with your vision. The design process typically takes four to six weeks from start to finish. Time and attention to detail help a design shine.

Design Boards

We use your Pinterest boards and inspo pictures to create design boards curated to your unique style – and then we work with you to fine-tune the design until every detail is just right!

Step 3: Final Selections, Delivery, and Installation

After finalizing the design, we’ll total all your selections, matching them up against your budget. Once everything is confirmed, we’ll invoice you and take care of all the ordering. Furniture will arrive via white glove delivery, while everything else will ship directly to your home.

From here, our hands-on work is done, but we’ll provide you with a comprehensive spec sheet detailing where each item should be placed, including heights for hanging artwork and drapery. We’ll also give you a list of our preferred vendors for everything from wallpaper installation to electrical work and beyond, so you have the support you need throughout the installation process.

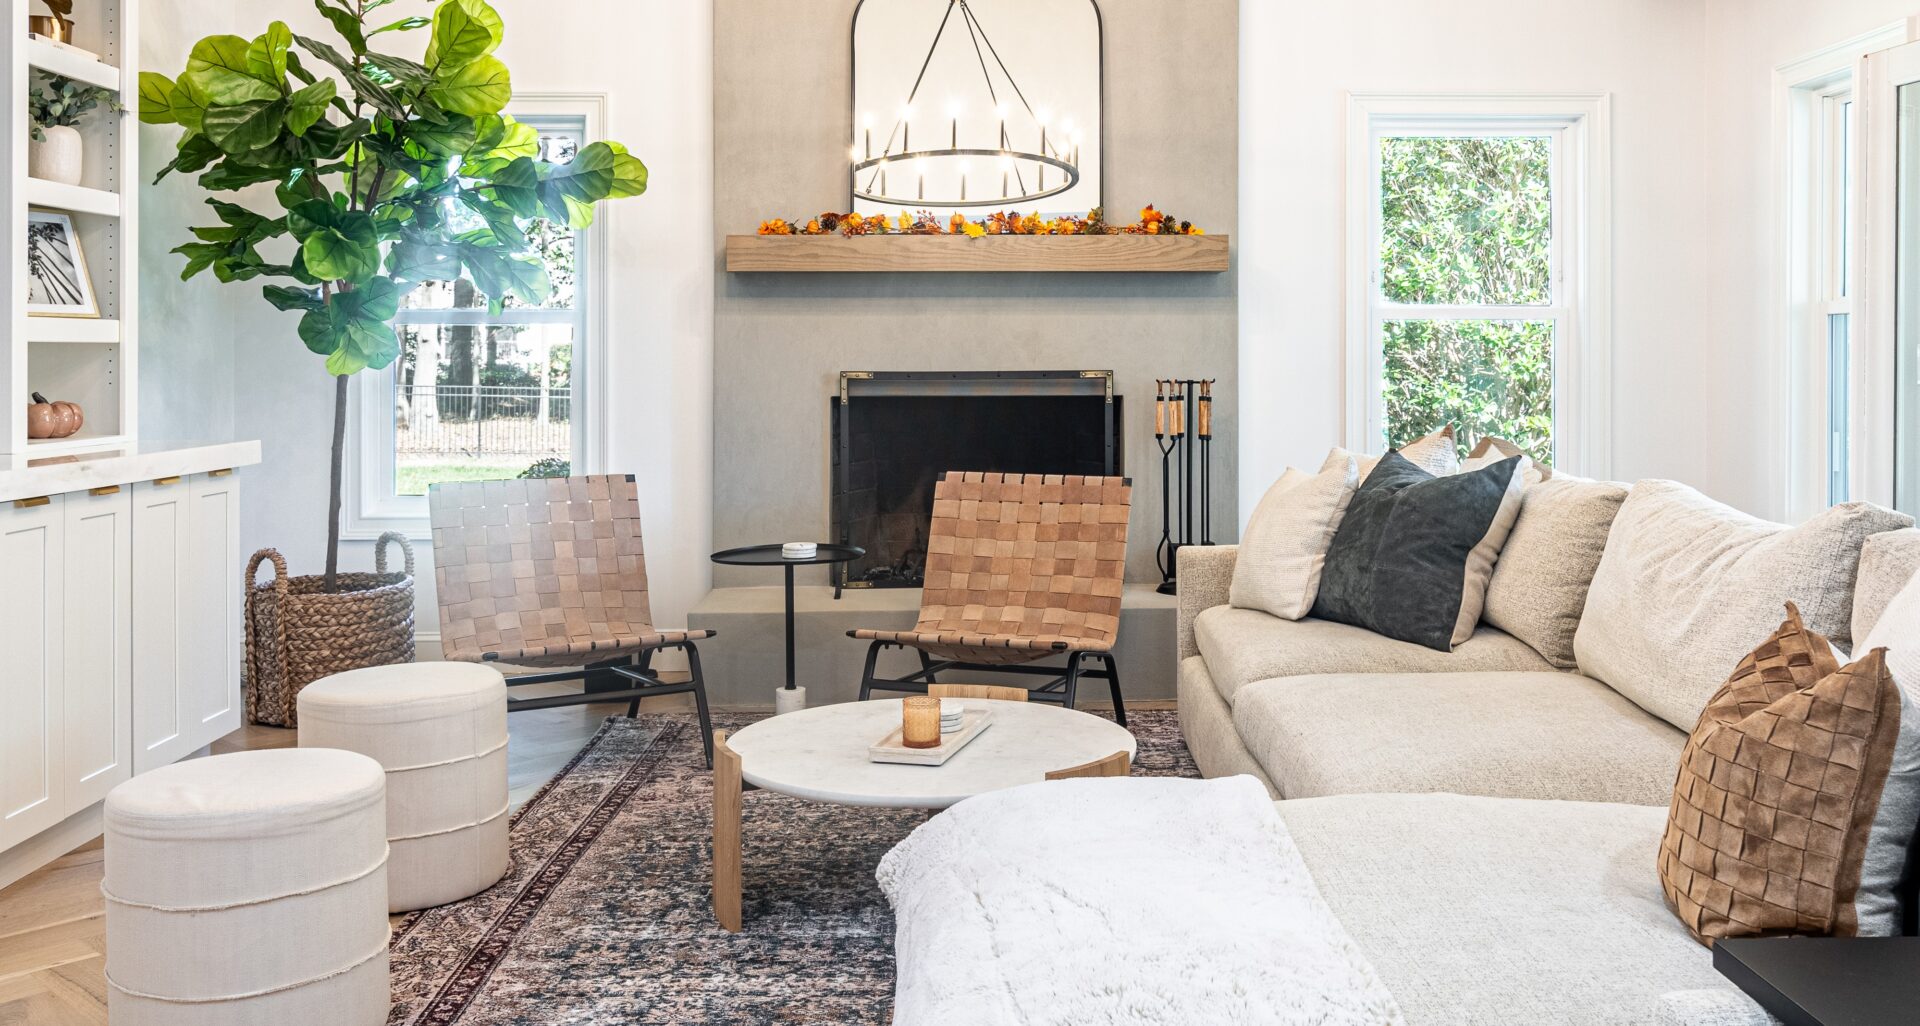
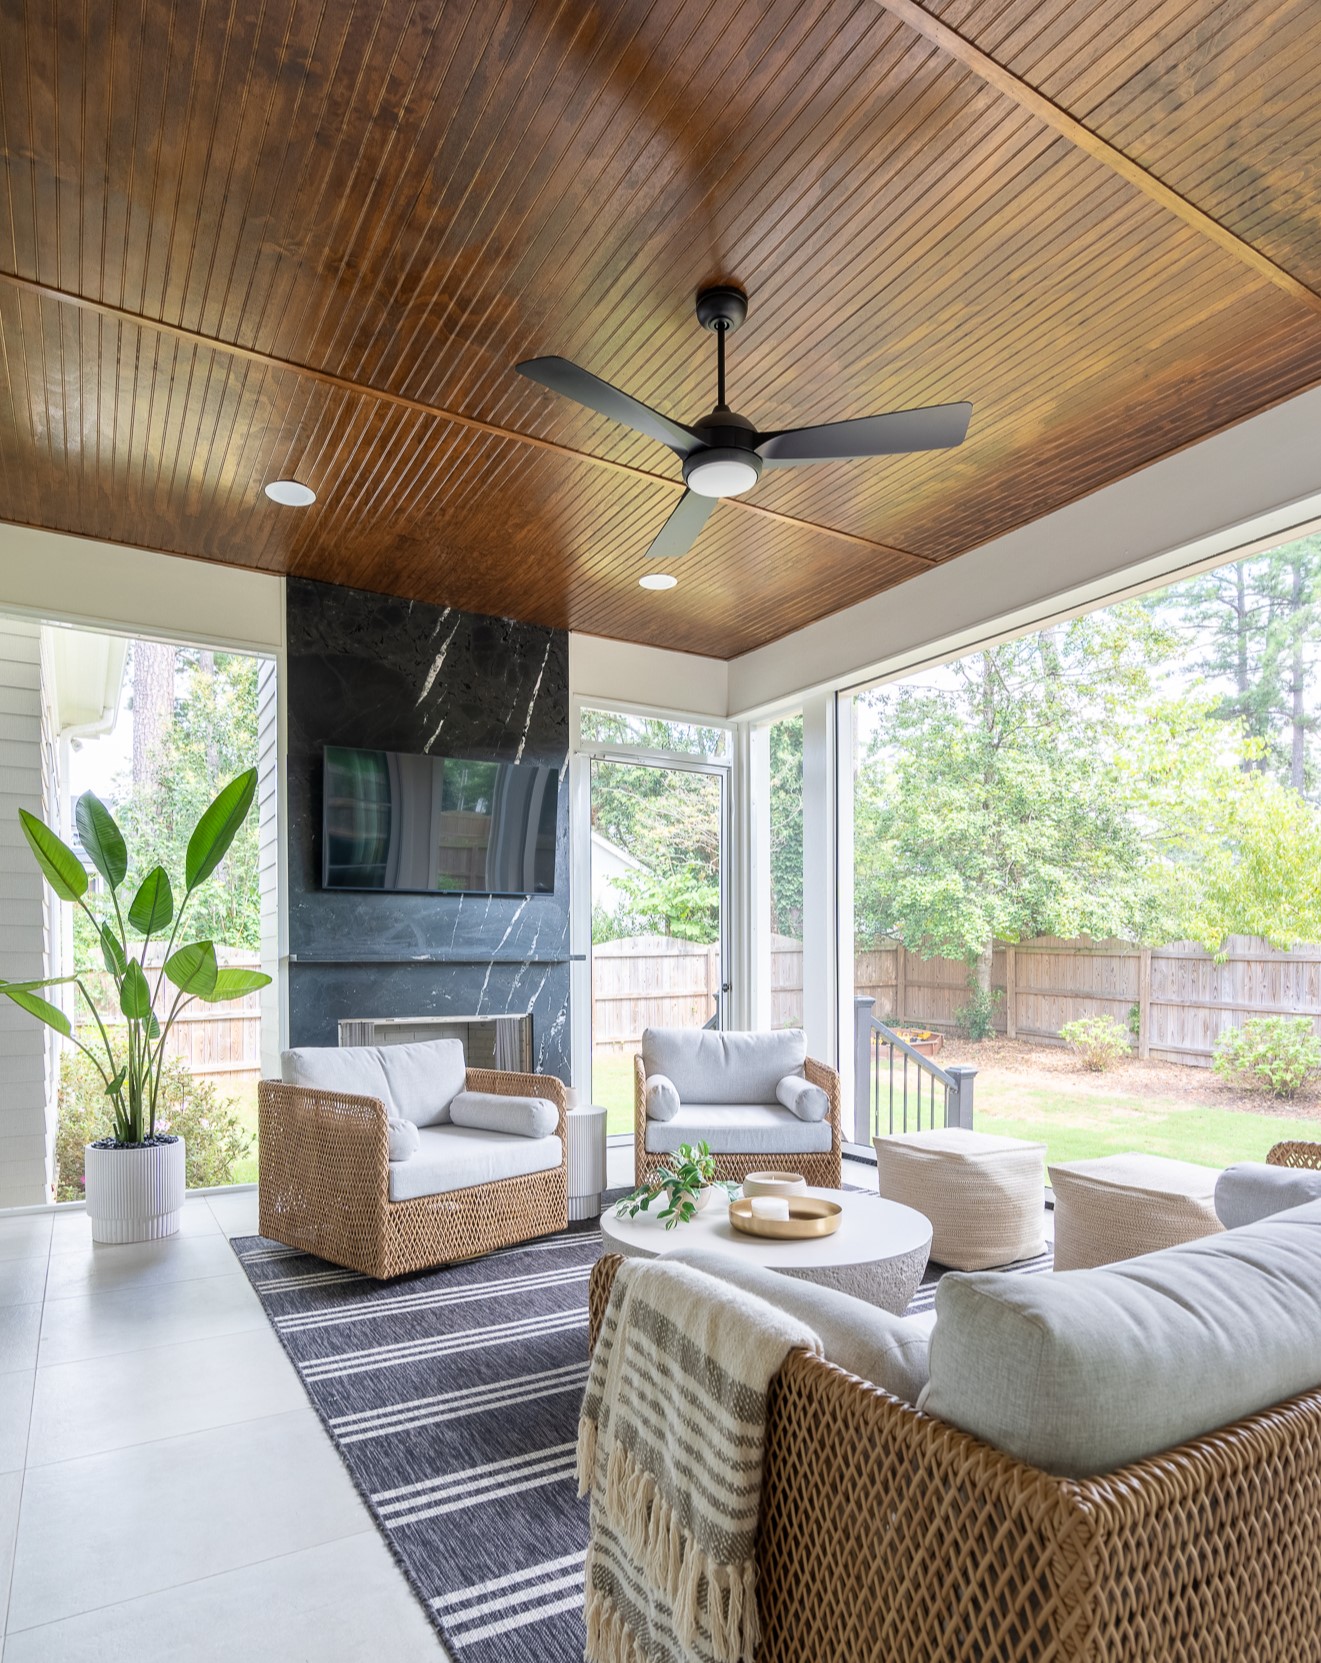
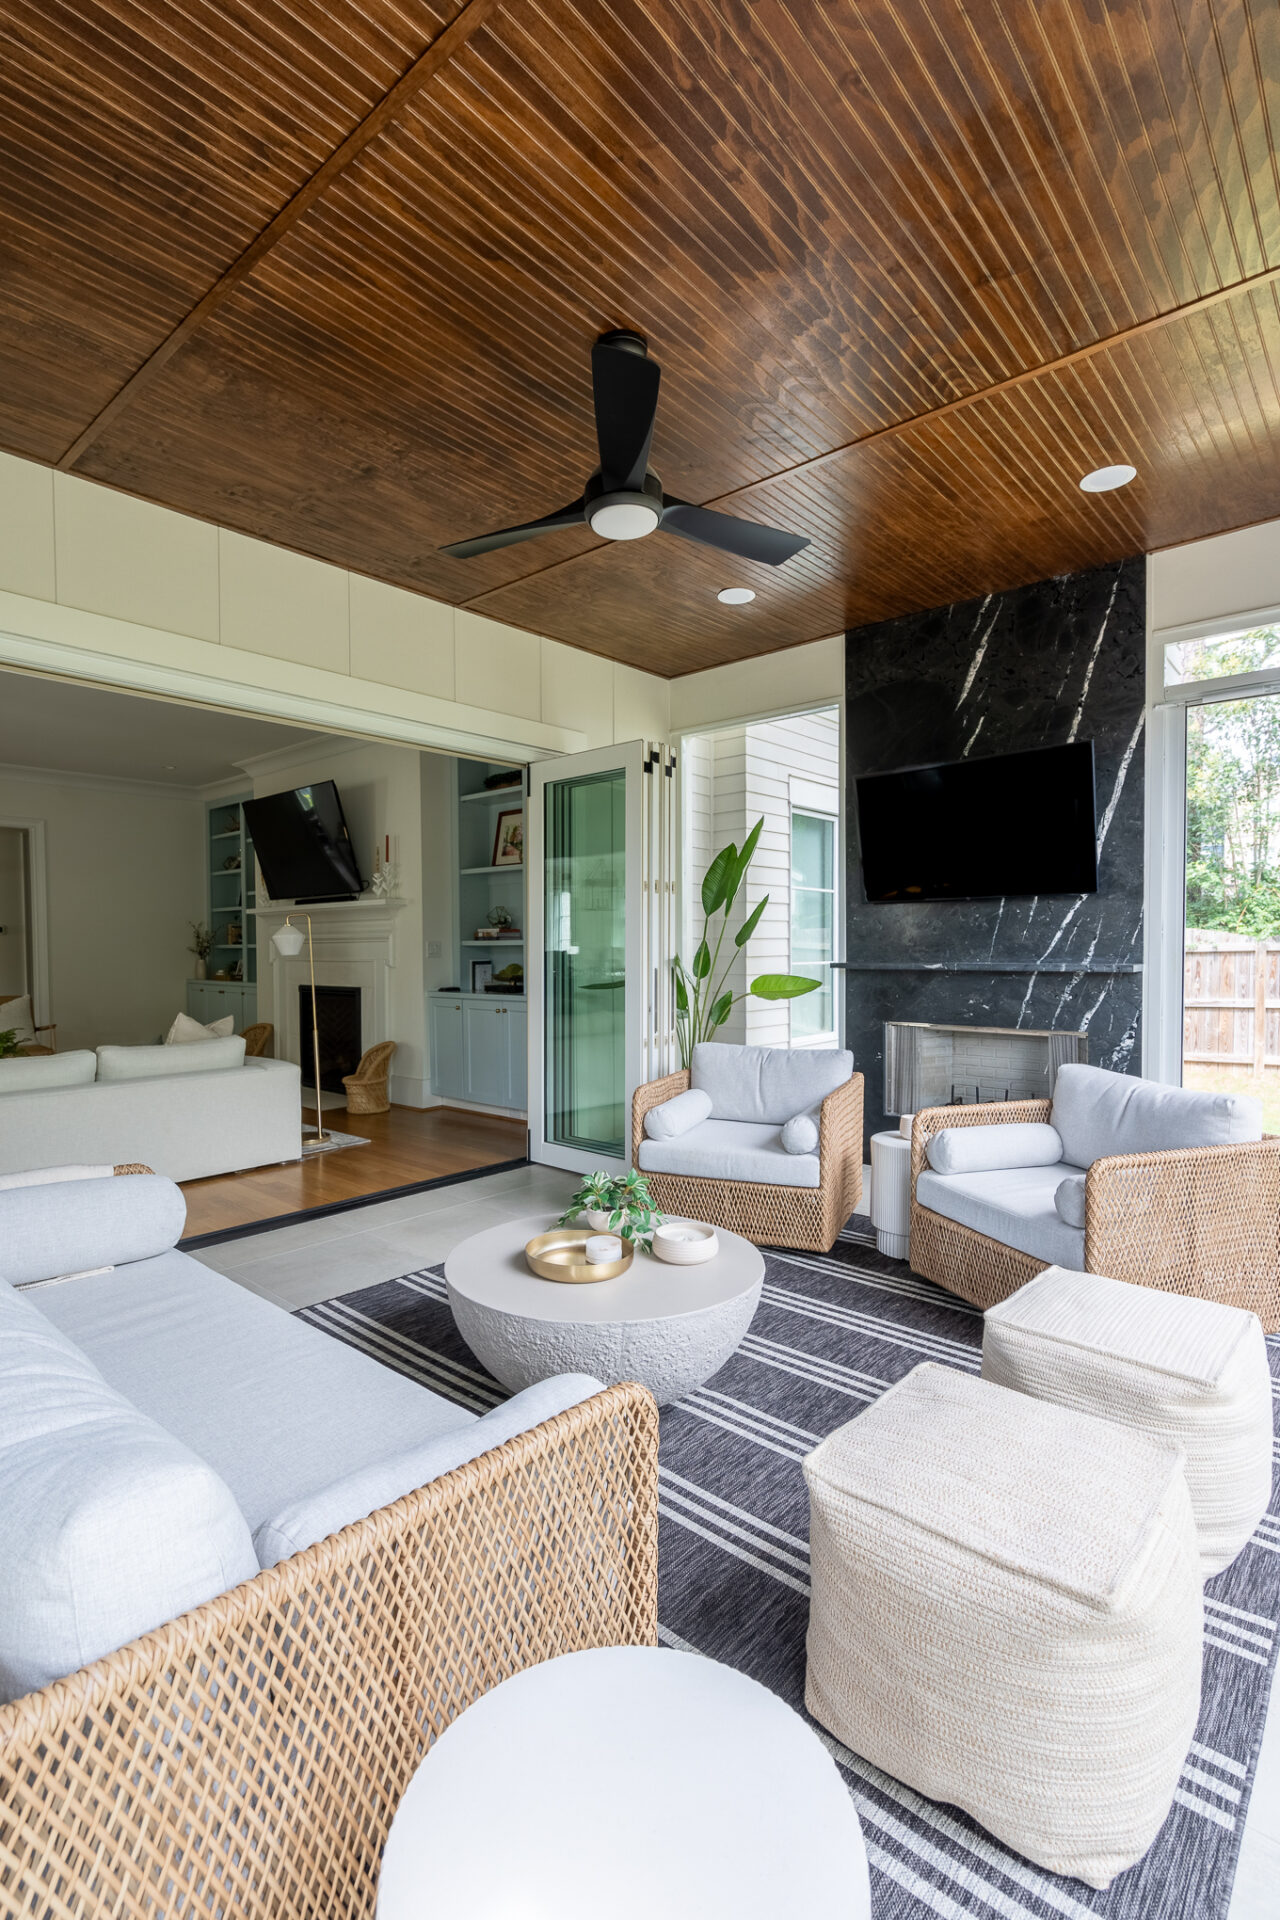
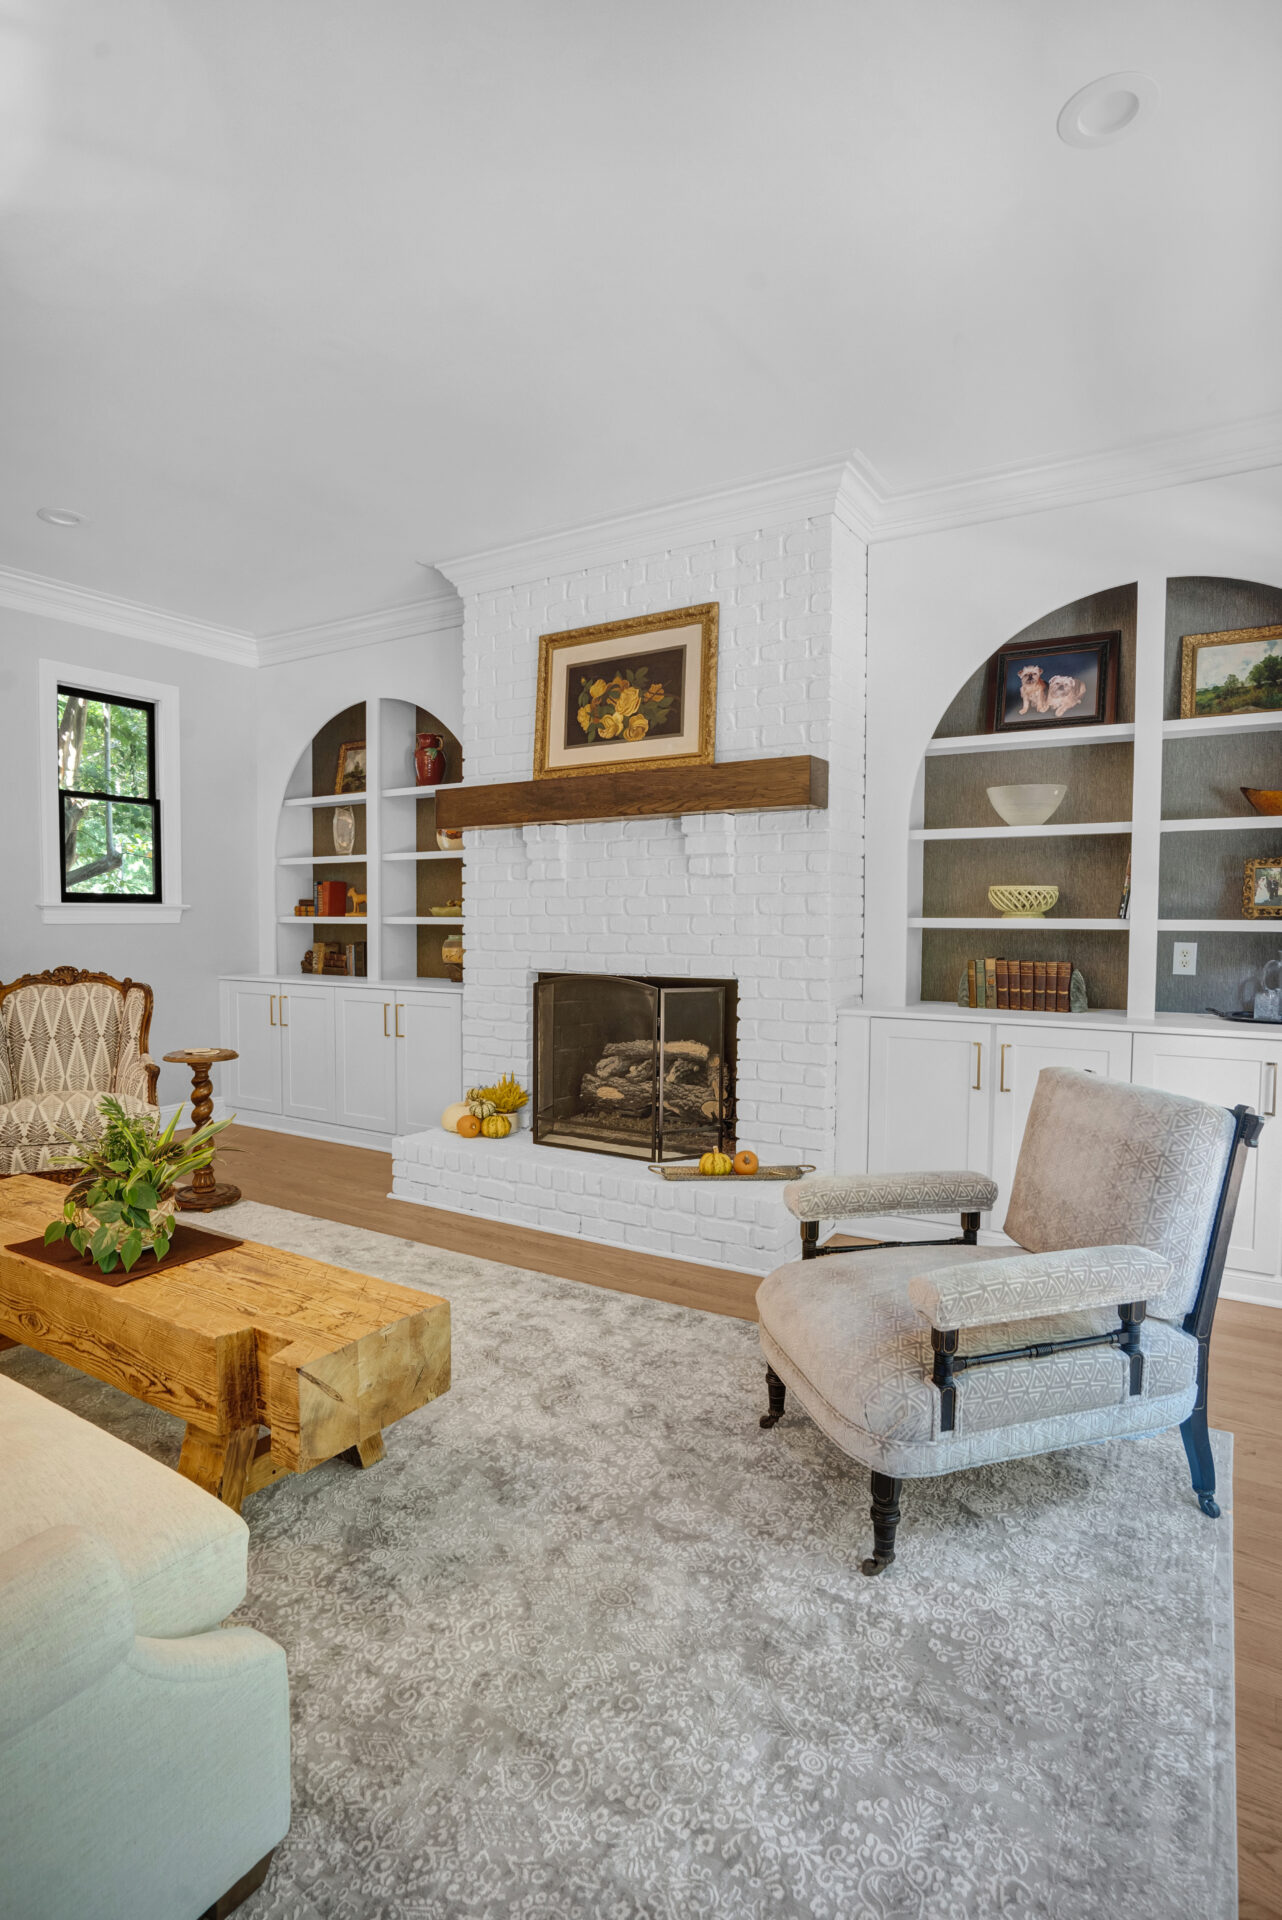
Take a look at these stunning transitions from design board to finished space!

    Why Choose Our Furnishing and Space Planning Process?

    This hybrid approach offers the best of both worlds. While we curate a luxury designer look and handle all the selections, you take the reins on installation. By taking care of all the ordering, we can pass on designer discounts to you, sourcing directly from brands. With the client handling installation, the process is even more cost-effective – because you’re not paying us to warehouse items or manage installation day.

    If you’re ready to design the space of your dreams, Spotted is here to help every step of the way. Contact us to learn more about our furnishing and space planning services!

    Click to schedule a free zoom consultation
    A Place for Family: Brier Creek Before & After

    A Place for Family: Brier Creek Before & After

    christmas tree in living room

    This beautiful renovation took almost an entire year, but it was worth every moment. This house in the Brier Creek Country Club was built by Toll Brothers in the early 2000s and hadn’t seen any updates since. Our clients were a family of four with two young daughters and relatives from France that frequently flew in to visit for extended periods, so our goal was to give them a functional family space with plenty of style.

    Kitchen

    The kitchen was the focal point of this transformation. The narrow island and closed-off U-shape just weren’t working, and the tile flooring in the kitchen clashed with the engineered hardwoods throughout the rest of the house, breaking up the floorplan even more. This cramped, outdated kitchen wasn’t just visually unappealing – it was impractical for this busy family!

    To open up the floorplan, we installed a 20-foot structural steel beam that allowed us to remove the wall between the kitchen and the sunroom. This made space for a double island, perfect for prep, cooking, and entertaining, with ample seating that flows seamlessly into the dining room, accommodating up to 10 people.

    We updated all the appliances in the kitchen, including a double wall oven, a large gas cooktop, a convenient pot filler, drawer microwave, dishwasher, and a new built-in refrigerator. We used a classic color palette to brighten the space and incorporated timeless materials – a marble countertop, marble backsplash, and marble mosaic tile with fluted glass to add a touch of detail to the design.

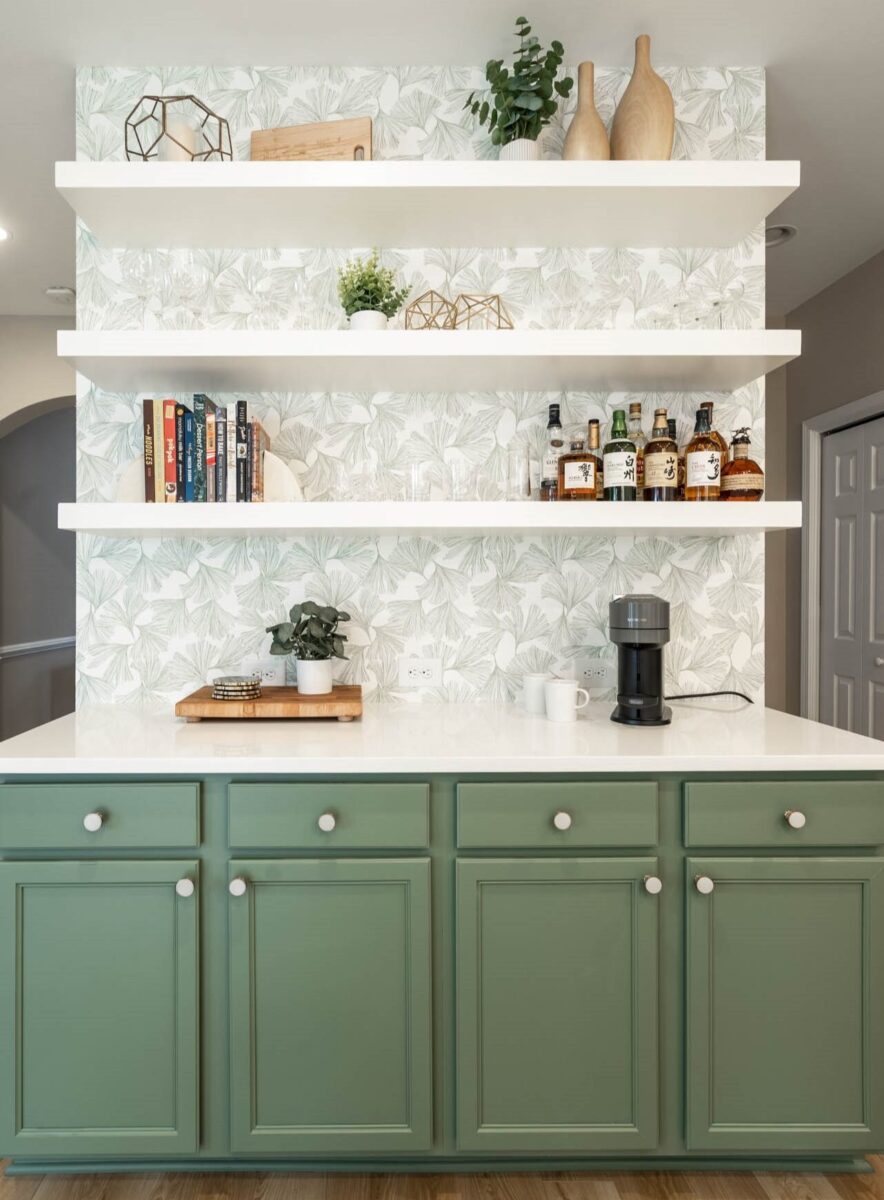
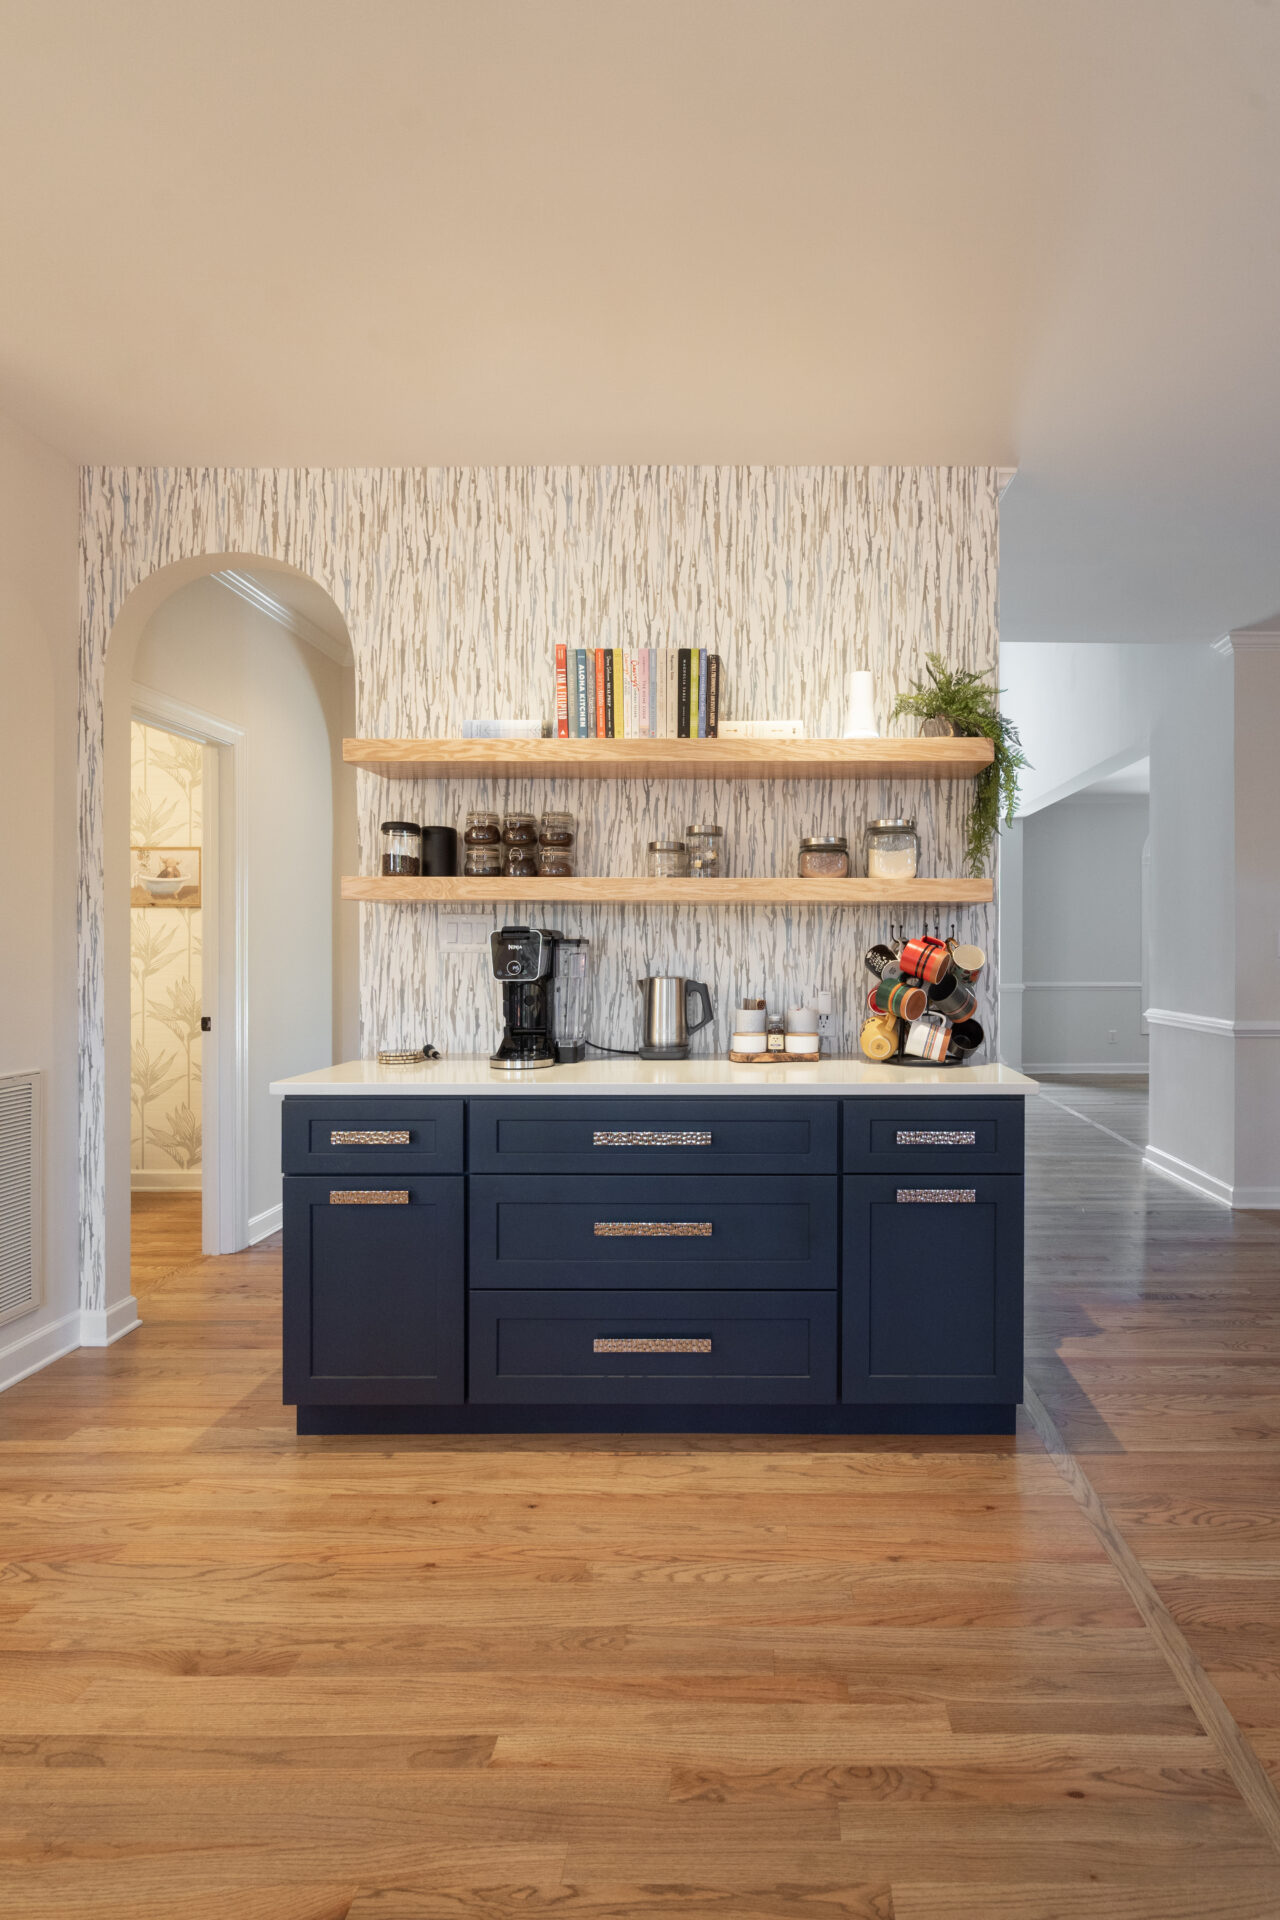
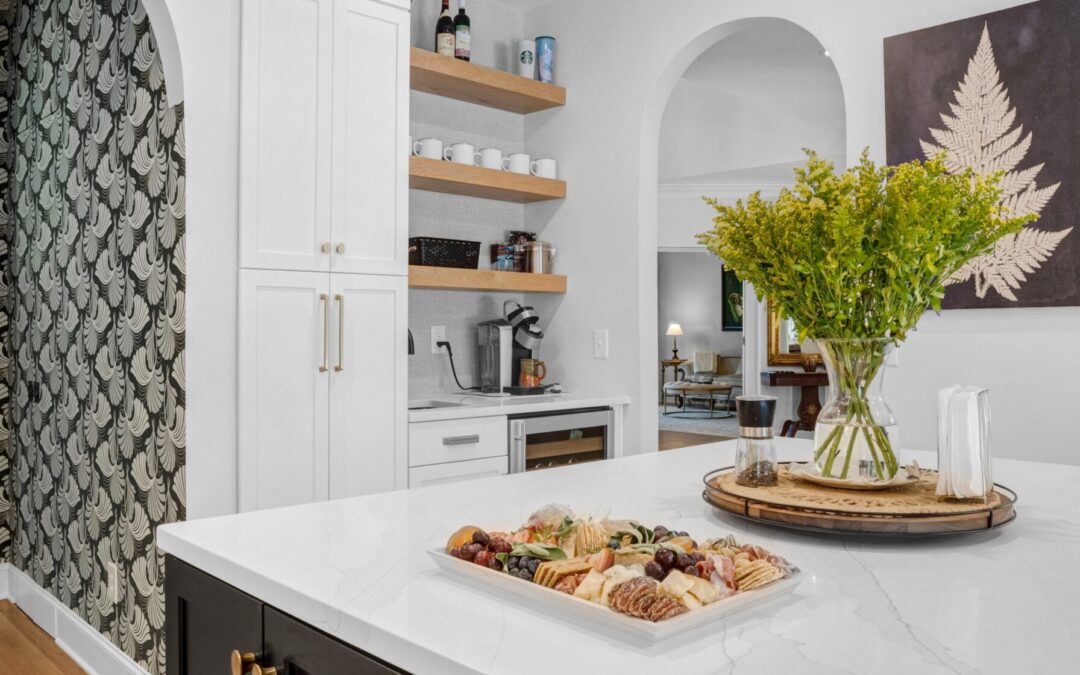
    One of the homeowners is French (meaning she loves her coffee and espresso!) so we completed the kitchen with a gorgeous coffee bar. We also got rid of the outdated tile and updated the flooring throughout the entire first floor, making for a harmonious, cohesive finish.

    Bathrooms

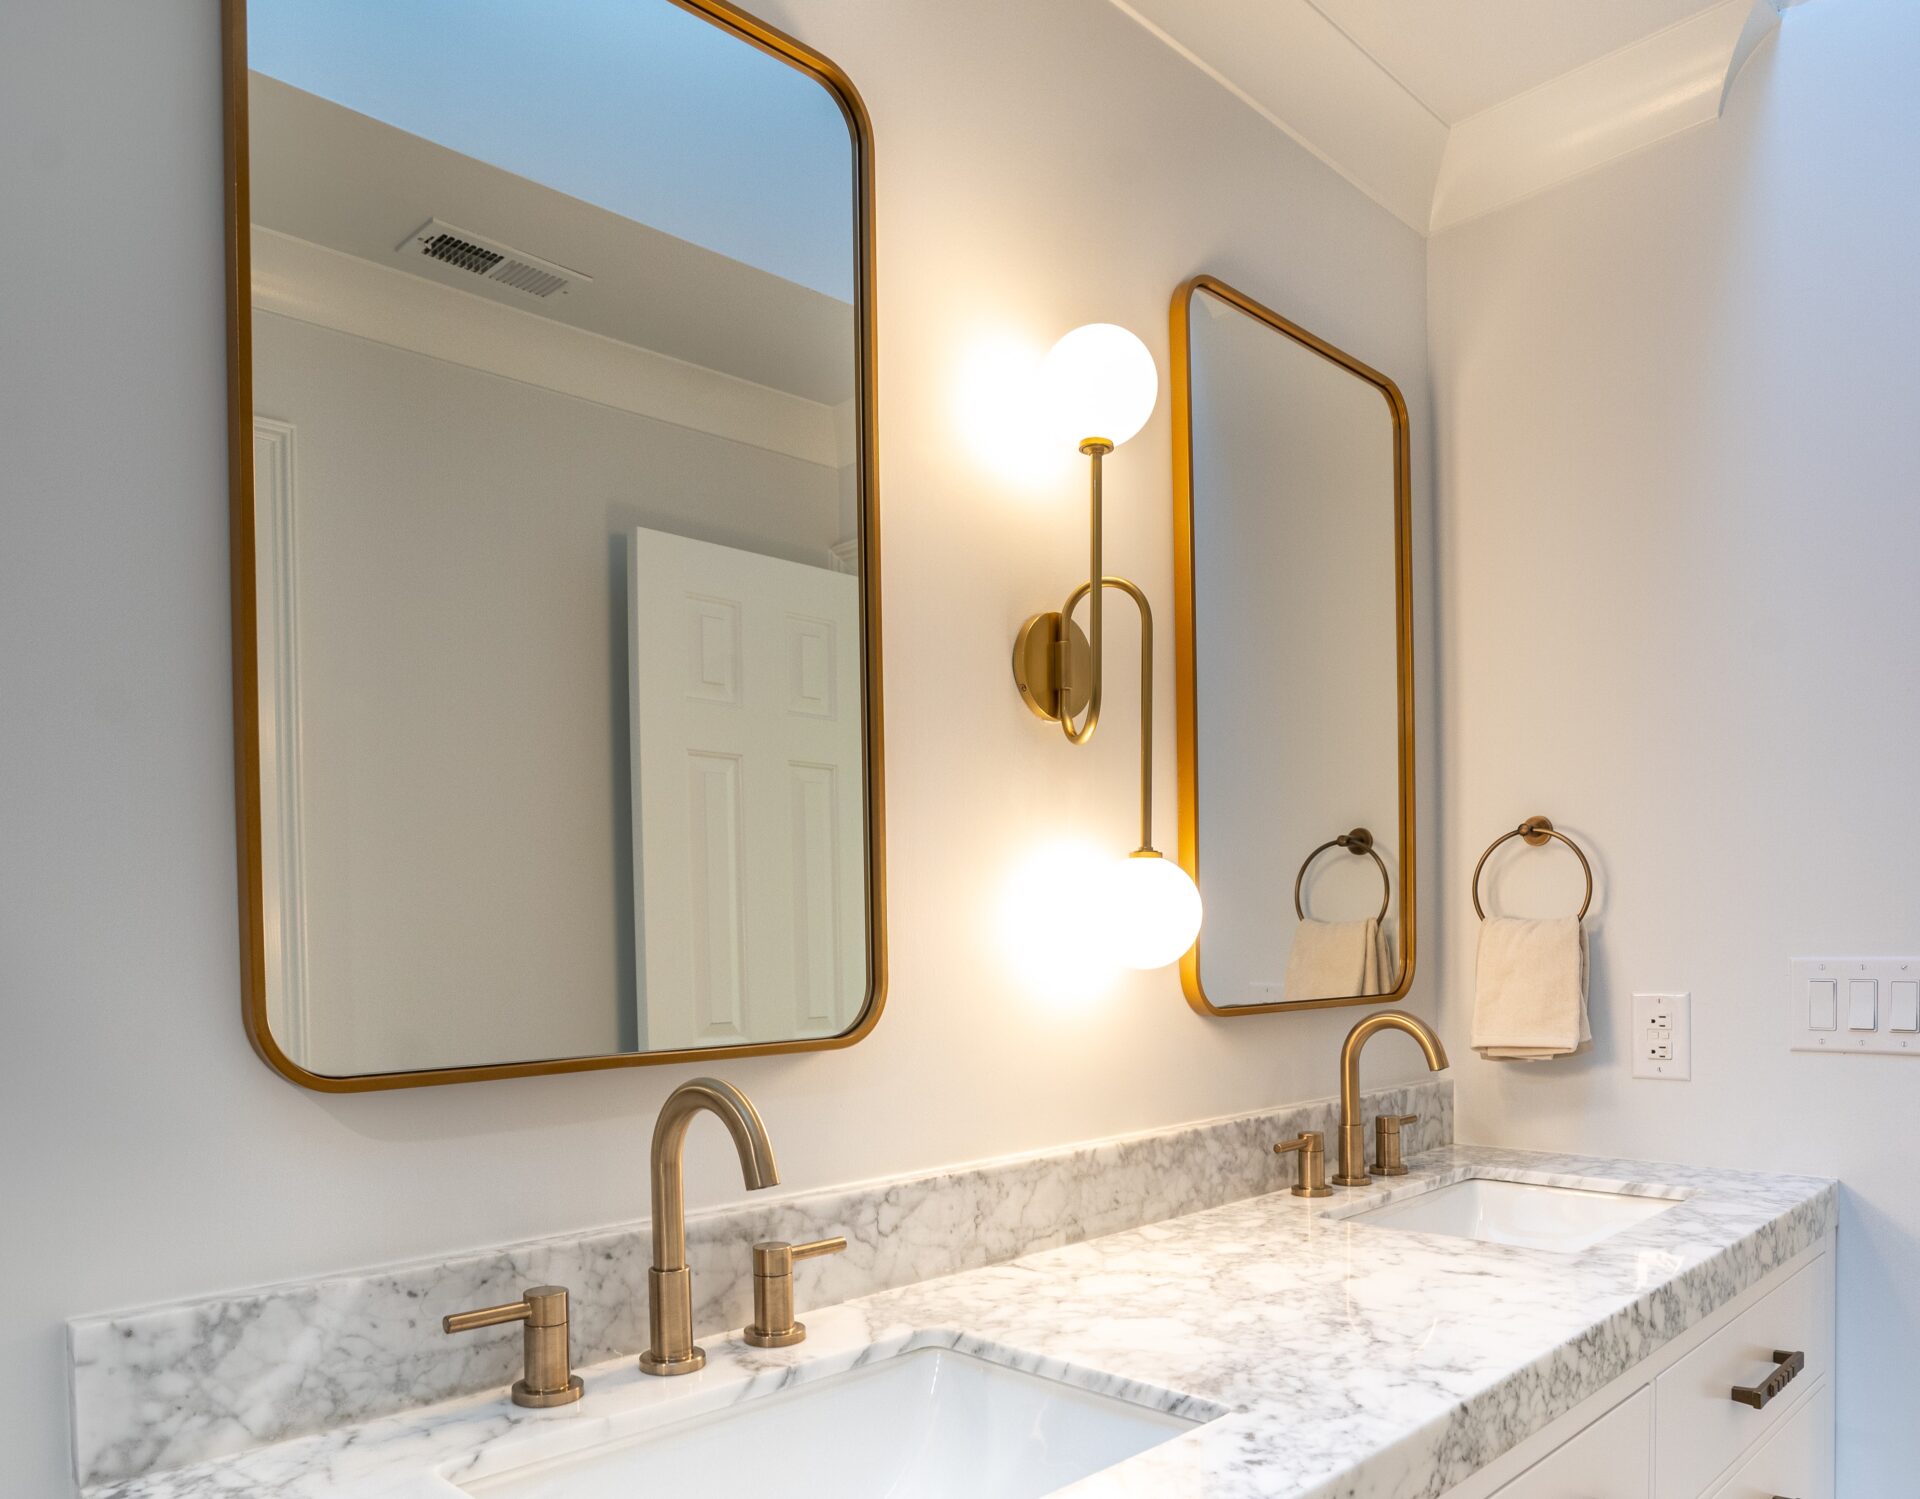
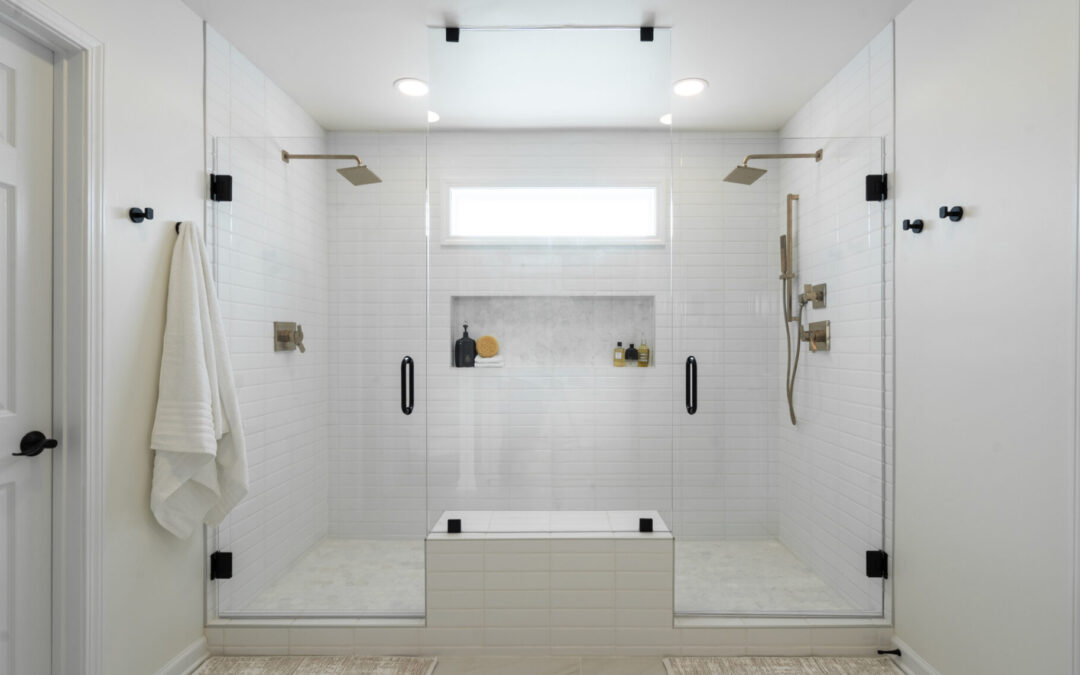
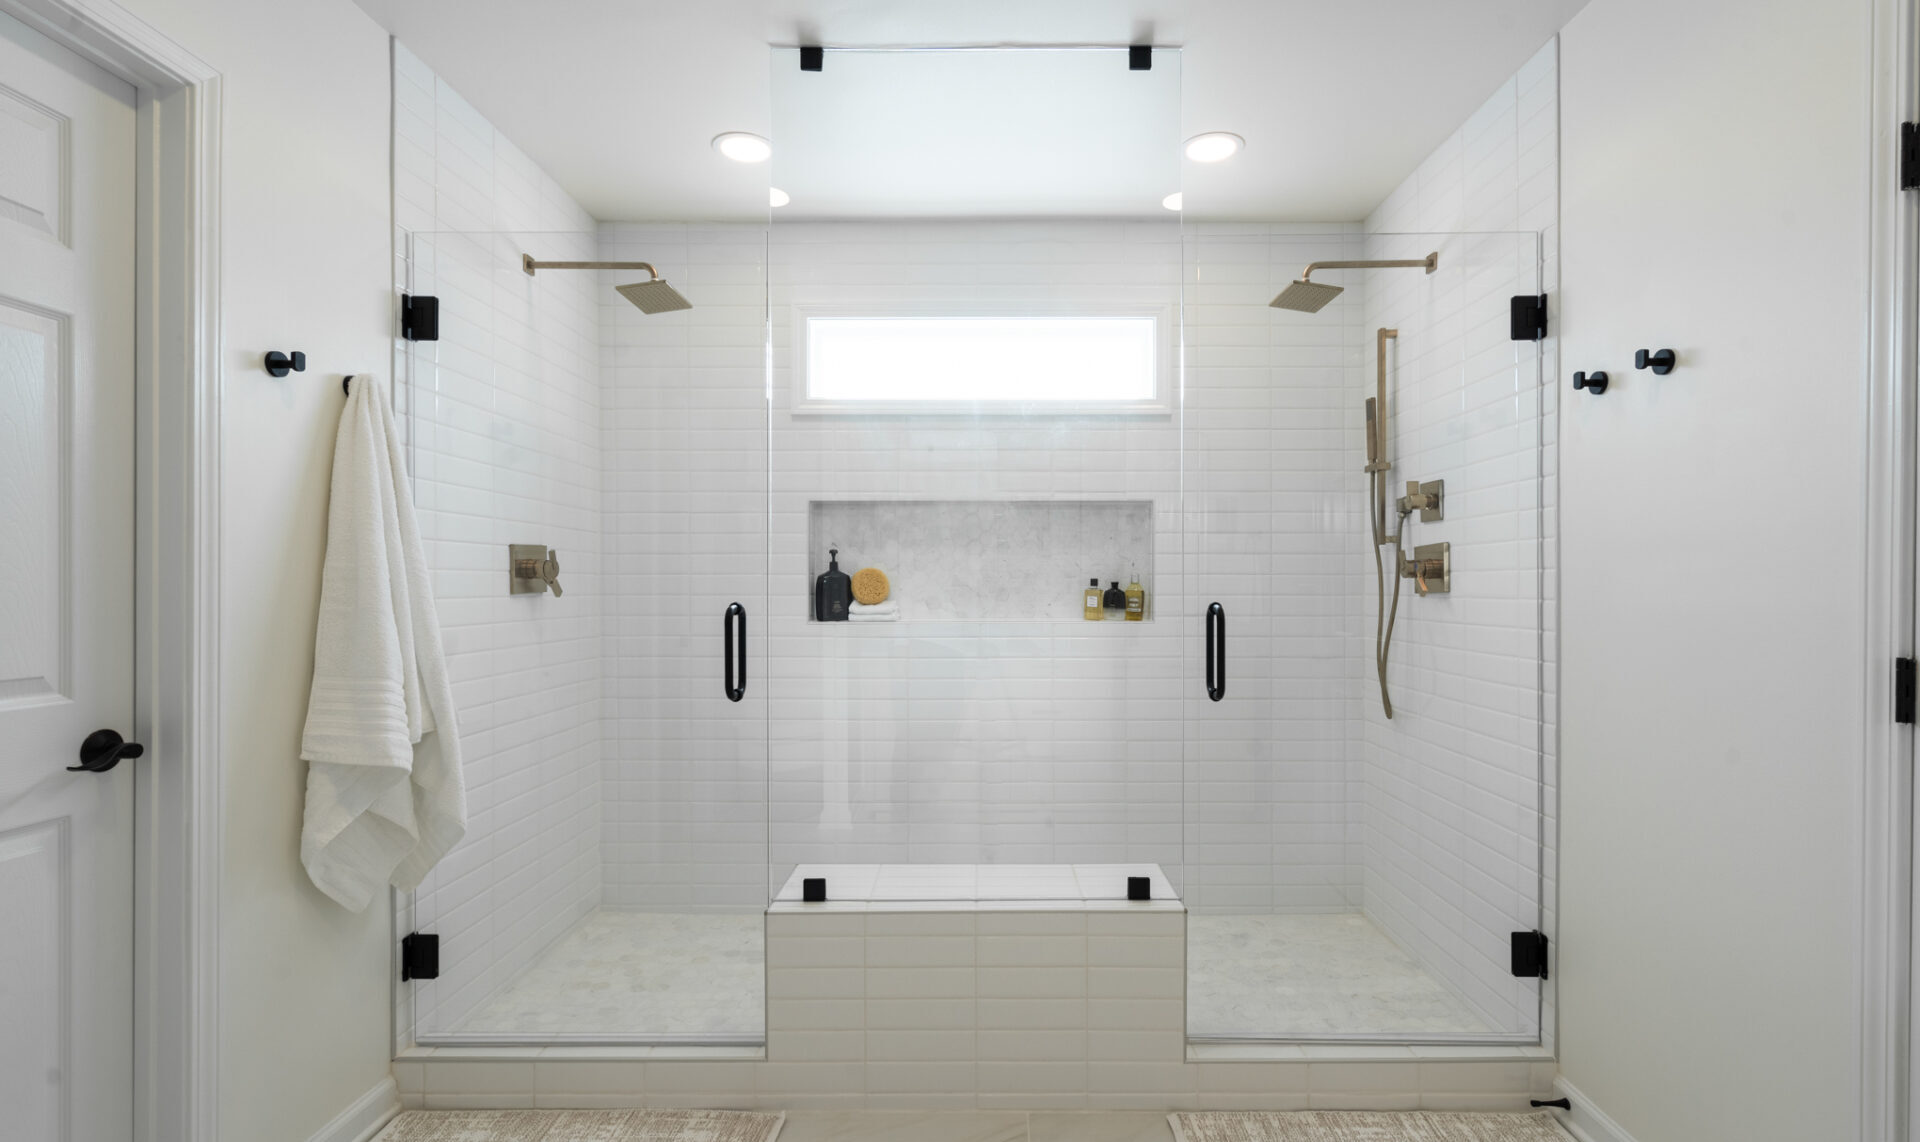
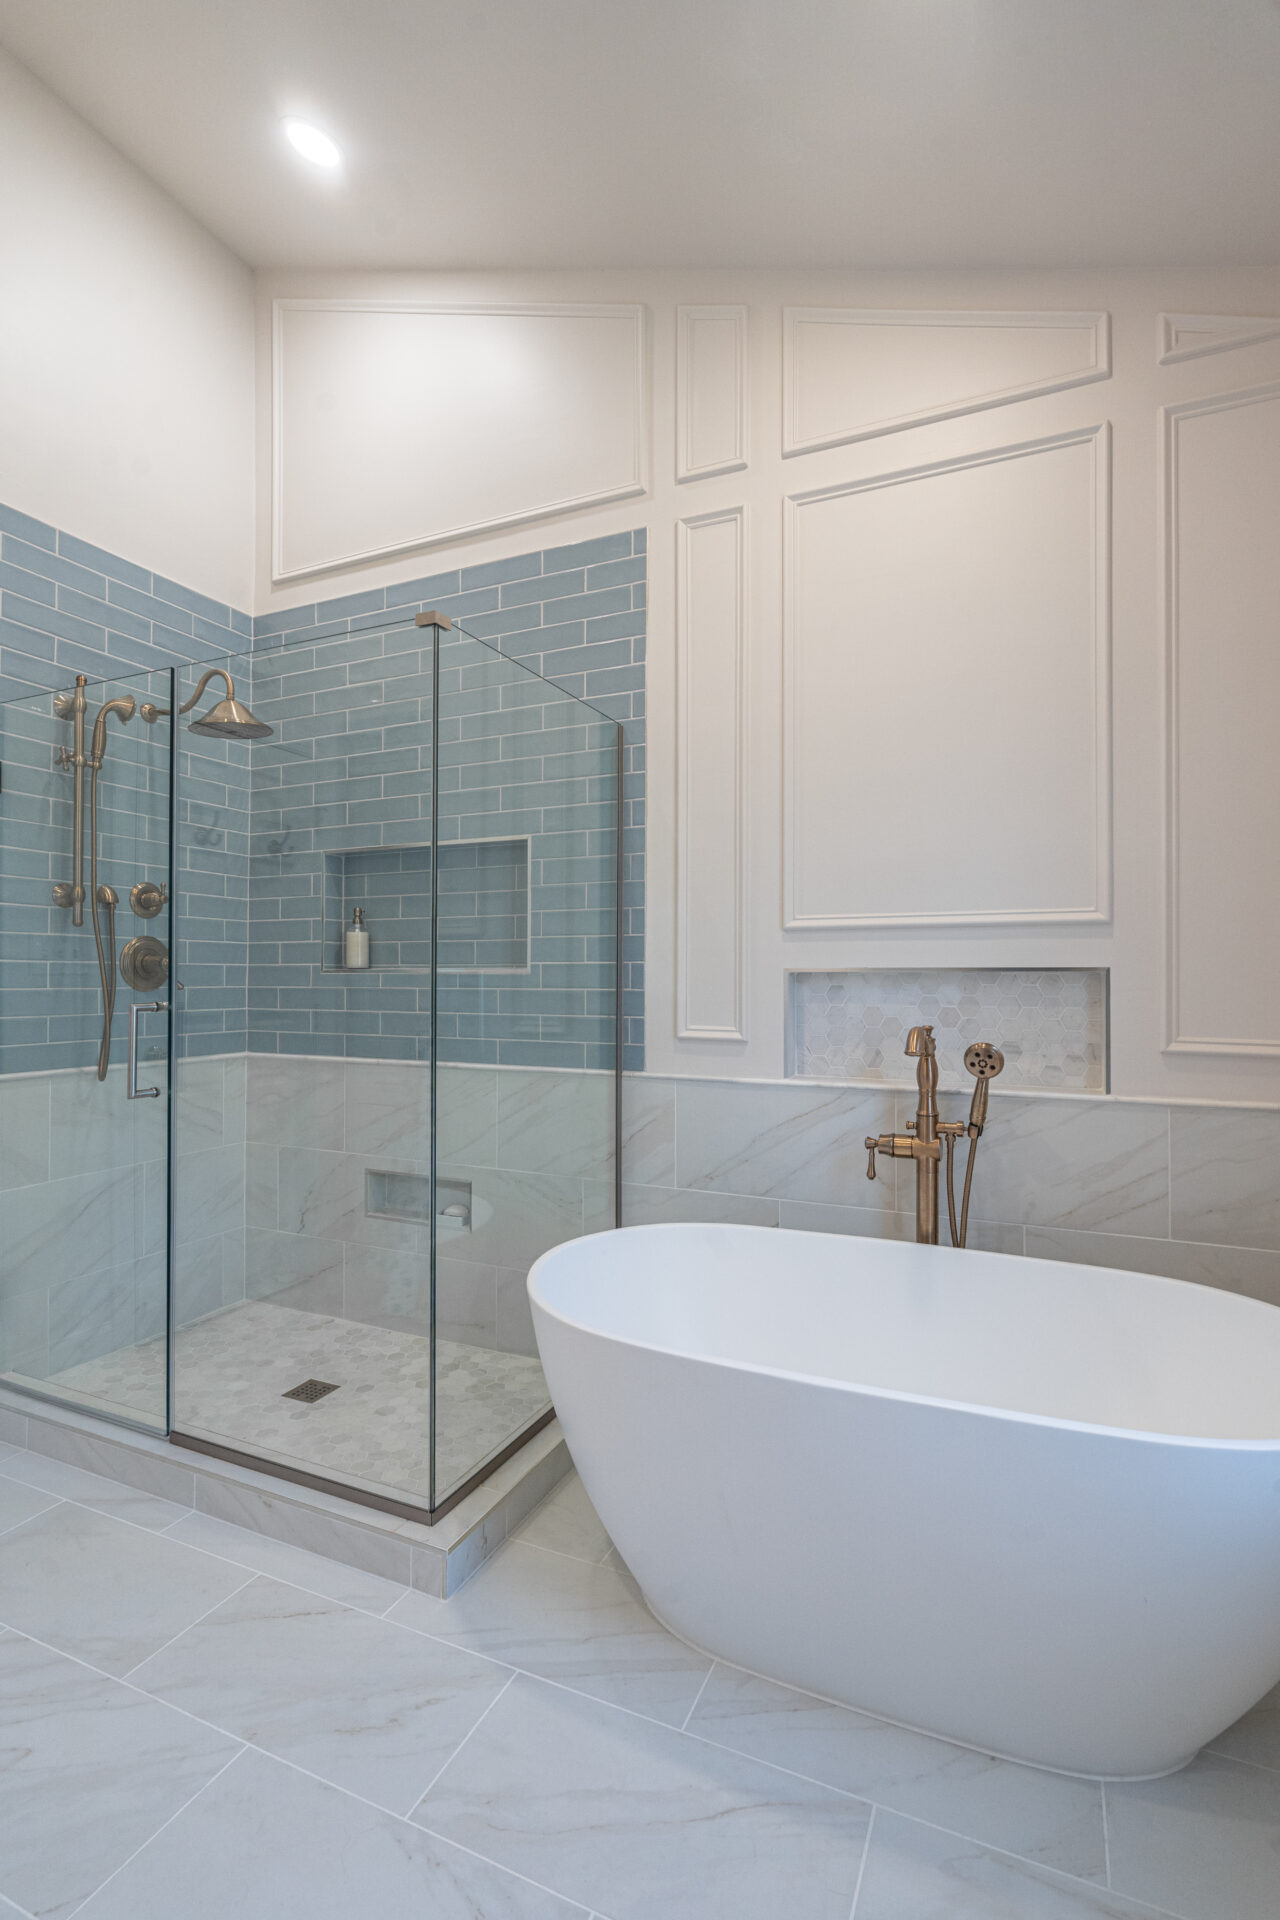
    All the bathrooms in the home were very plain and builder grade, though the primary bathroom needed a lot more work. A large tub had been installed by a previous owner, and with very little walking space on one side, it definitely wasn’t to code. We replaced that outdated monstrosity with a tub against the back wall that was more appropriately sized but just as luxurious. Other luxury touches in the primary bathroom included a chandelier above the tub, more classic marble, fluted glass, gold finishes, his and hers vanities, decorative tile in the shower niche and, to top it all off, a heated flooring system.

    In the three remaining bathrooms, we updated all the fixtures and finishes and added fun, decorative touches throughout, like wallpaper, tile mosaics, and pops of color.

    ADDITIONAL UPGRADES

    In the foyer, we added a beautiful new chandelier to brighten the space. The laundry room got a new marble floor, updated cabinetry, a new sink, and floating shelves. We also created a built-in mudroom and a new closet for coats – plenty of practical storage for a family of four!

    Finally, we transformed the husband’s office with custom built-ins and a dark, saturated paint in Peppercorn, giving the space a sophisticated, masculine vibe.

    While we did some major renovations, there are a few details we didn’t change. We left the columns throughout the home and the ornate balusters on the staircase, maintaining some of the original charm while creating a beautiful, cohesive space with a bit of classic Parisian flair. Our clients are thrilled with the results, and so are we!

        From House to Home: Before & After at Electra

        From House to Home: Before & After at Electra

        christmas tree in living room

        These clients moved to North Carolina from out of state and purchased a house built in 1972 – which had since been stuck in 1972. The property had seen few updates, if any, since its construction, and was in desperate need of a renovation. From the color-coordinated bathroom tile to the heavy, dark kitchen cabinets, this house was stuck in time and ready for a refresh. In the middle of the renovations, our clients found out they were pregnant, so the goal was clear – transform an outdated house into a beautiful, functional family home.

        The first step to revitalizing the house was opening up the floor plan between the kitchen and the dining room. We moved the laundry room – which had previously been tucked away in a closet between the kitchen and the dining room – upstairs, making space to knock out a few walls and create an open, spacious floor plan perfect for family gatherings and entertaining.

        The changes to the floor plan didn’t stop there. We framed out an oversized upstairs bonus room to add an extra bedroom, perfect for a growing family. We also expanded the primary bathroom, giving the new parents a luxurious space to unwind.

        Though we updated all three bathrooms in the house, the kitchen and dining room were the center of the transformation. After opening up the floor plan, we designed the dining room around the dining table, a refinished family heirloom, adding decorative wainscoting to the walls and an elegant new light fixture. In the kitchen, we added a large island for extra prep room and seating space and incorporated a beautiful hexagon marble tile backsplash. The nearby coffee bar was given a coordinating diamond mosaic backsplash to compliment the hexagons. This kitchen also features a touch faucet, perfect for child-sized hands still learning how things work!

        Don’t worry – we didn’t erase the history from this house. In the foyer, we kept the original 1970s parquet floor, which we stained to coordinate with the LVP throughout the rest of the home.

        Our clients bought this house for $465k, and with our updates, it’s now valued at more than $750k. What was spent on renovations added nearly double the cost of those renovations to the value of the house, creating instant equity for our homeowners. They were able to purchase an outdated property in an incredible neighborhood for a lower cost and renovate it into their dream home.

        Very soon after we finished the renovations, our clients’ son was born, bringing the process full circle. We didn’t just renovate a house – we created a forever home for a young family to grow and make memories for years to come.

            Gorgeous Greenery: Live Plants vs Artificial Plants in Your Living Space
            Gorgeous Greenery: Live Plants vs Artificial Plants in Your Living Space

            christmas tree in living room

            As interior designers, we love a bit (or a lot) of greenery! A pop of green can bring brightness, texture, and a touch of natural beauty to your space. Plus, the color green can improve your mood, and that’s what interior design is all about – turning houses into homes and creating beautiful, joyful spaces our clients love to live in.

            At Spotted, we often use artificial plants to bring the vibe of real greenery to an interior space. But when it comes to your own space, which is the right choice – foliage or faux foliage? Here are a few things to keep in mind while deciding what type of greenery to incorporate in your home’s interior design:

            Cost

            While artificial plants might cost more initially, they could save you money in the long run. Once you purchase an artificial plant, there’s no more money to be spent, unless you want to buy a new pot to change up the look. With real plants, however, you’ll need to consider the cost of water, soil, plant food, pest control, and larger pots over time to accommodate growth. You’ll also need to replace real plants on occasion if you don’t have the gift of a green thumb.

            Upkeep

            When it comes to the maintenance of your plants, it’s obvious real plants require more time and attention than artificial ones. Real plants will need watering, feeding, dusting, pruning, re-potting, and more to thrive over time. While some plants require minimal upkeep, others might need daily care. Some people find caring for plants soothing, and some find it exhausting – so it’s a matter of preference! It’s important to keep in mind, however, that even artificial plants will require dusting to keep them clean and looking fresh.

            Variety

            There are hundreds of thousands of plant species on Earth, so it’s easy to assume choosing live plants for your home will offer you more variety. In reality, every plant needs a specific environment to thrive, which limits the types of plants you can grow in your own home. On the other hand, artificial plants will look just as green and beautiful in any environment, regardless of humidity, temperature, or amount of sunlight – so you can choose any artificial variety you want for your home! The selection of artificial plant varieties isn’t as extensive as real plants, but it’s improving all the time.

            Environment

            There’s no denying that real plants are better for the environment as a whole. However, there are a few reasons artificial plants might be better for your own personal environment. Many live plants are toxic and can pose a danger to pets and small children, while most artificial plants are non-toxic. Live plants can also attract pests or cause irritation for people with allergies. Thankfully, brands are popping up offering more sustainable alternatives to traditional artificial plants, using recycled, compostable, or biodegradable materials, so you can elevate your space with faux foliage without worrying about it ending up in a landfill someday.

            A small touch of greenery can make a big difference to the feel of an interior space. We love using artificial plants in our designs because they’re easier to maintain, come in many beautiful varieties, and are safe for pets and children. But there are plenty of pros to live plants, too! At the end of the day, it’s your space, and you should design and decorate it in whatever way is best for your lifestyle.
                3 Ways to Warm Up Your Space With Interior Design

                3 Ways to Warm Up Your Space With Interior Design

                christmas tree in living room

                ‘Tis the season, and no matter what climate you live in, you’re probably ready to bring some coziness into your home for the holidays. A fireplace isn’t the only way to warm up a room. Here are three tips for making your space feel warmer and creating a cozy haven with interior design:

                LET’S TALK TEXTURES

                Texture can make all the difference when you’re trying to make a space feel warm and cozy. If you prefer a sleeker design but want to bring some warmth into your space, a few well-placed textural elements can give you that cozy feeling you’re craving.

                • Play with the soft furnishings in your space, whether that’s adding plush throw blankets, faux fur rugs, or knitted throw pillows.
                • Warm up your furniture selections with natural elements, like wooden furniture, rattan accents, or a jute rug.
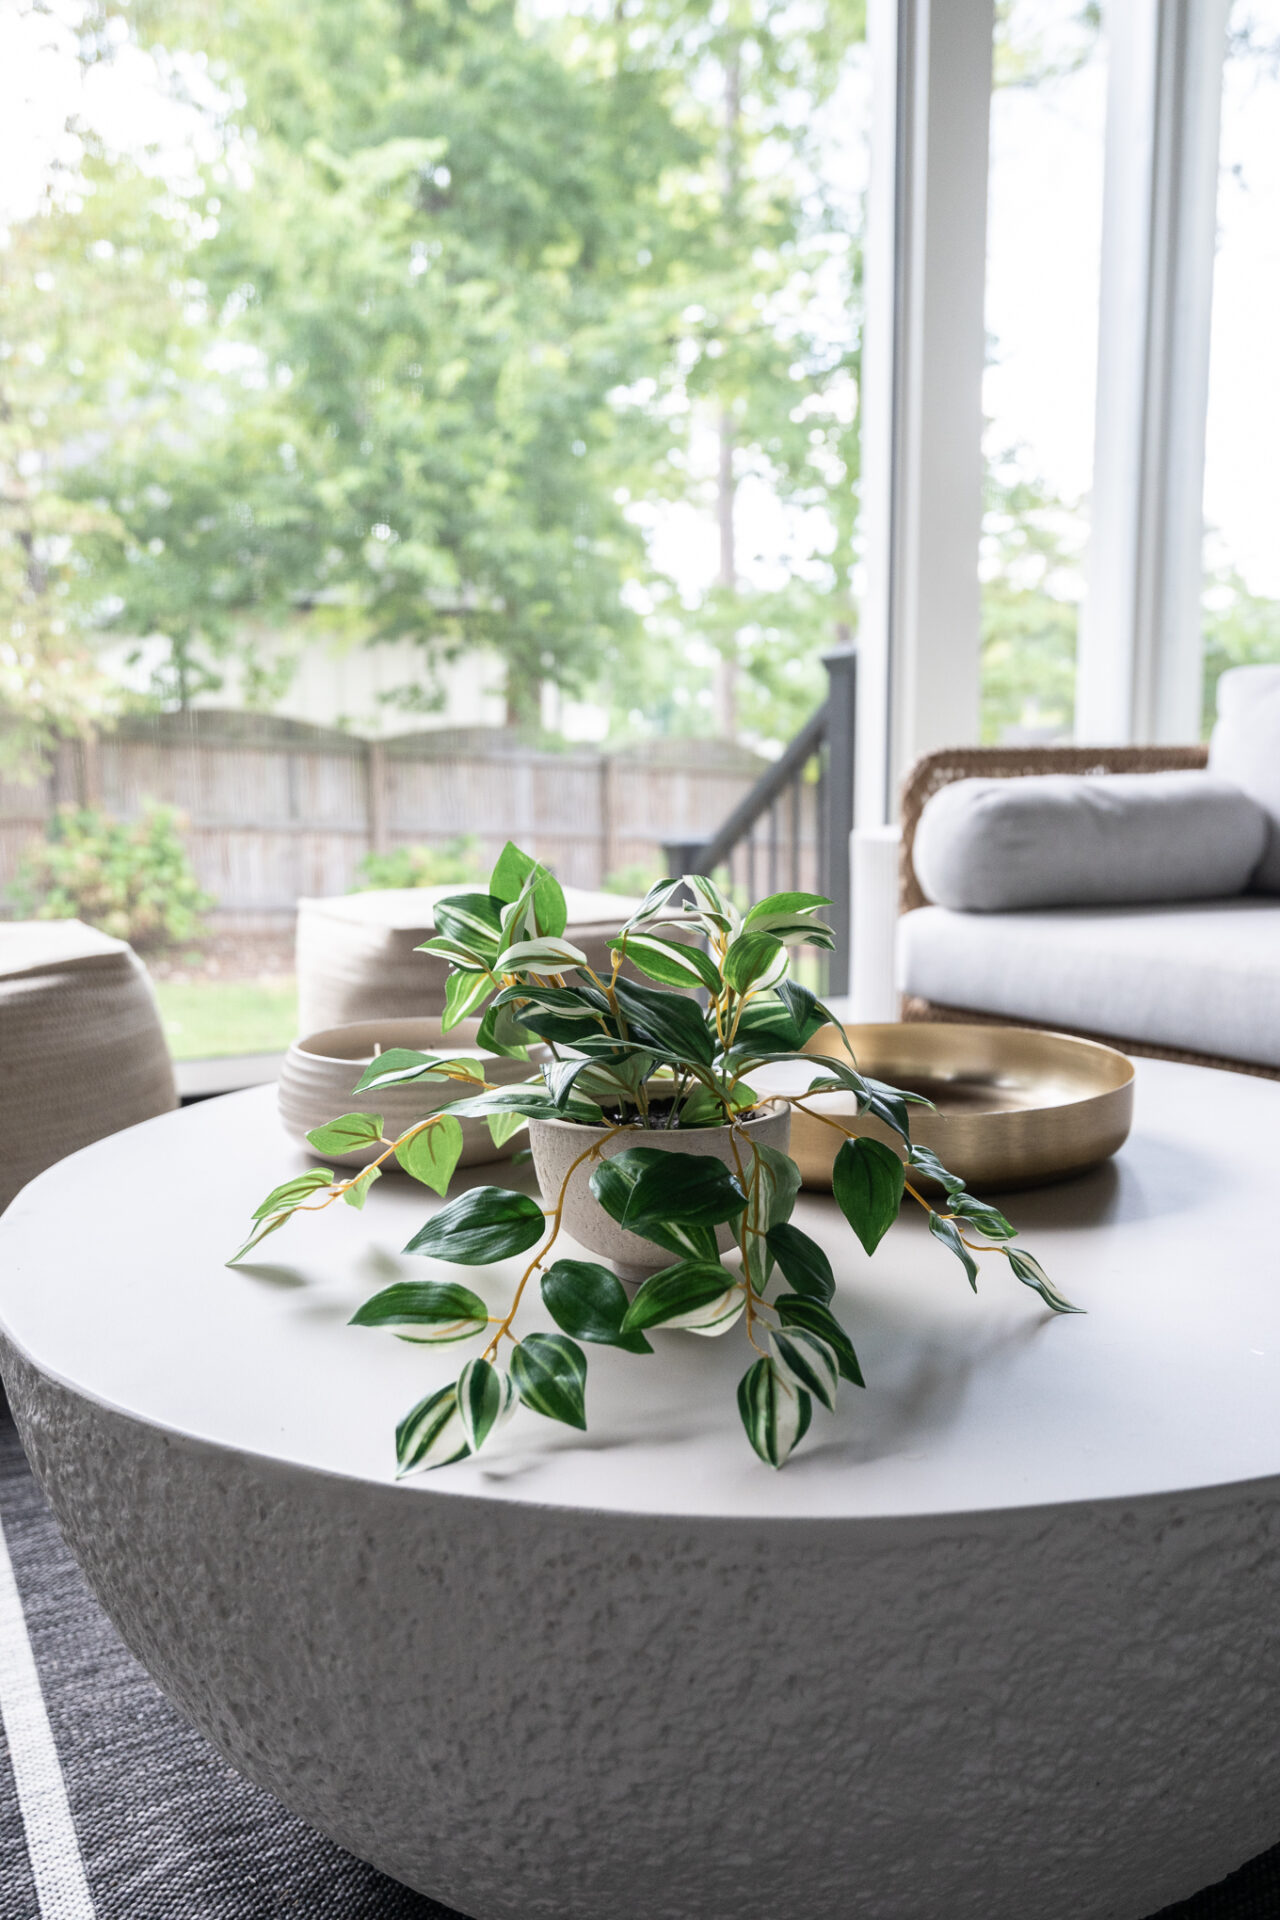
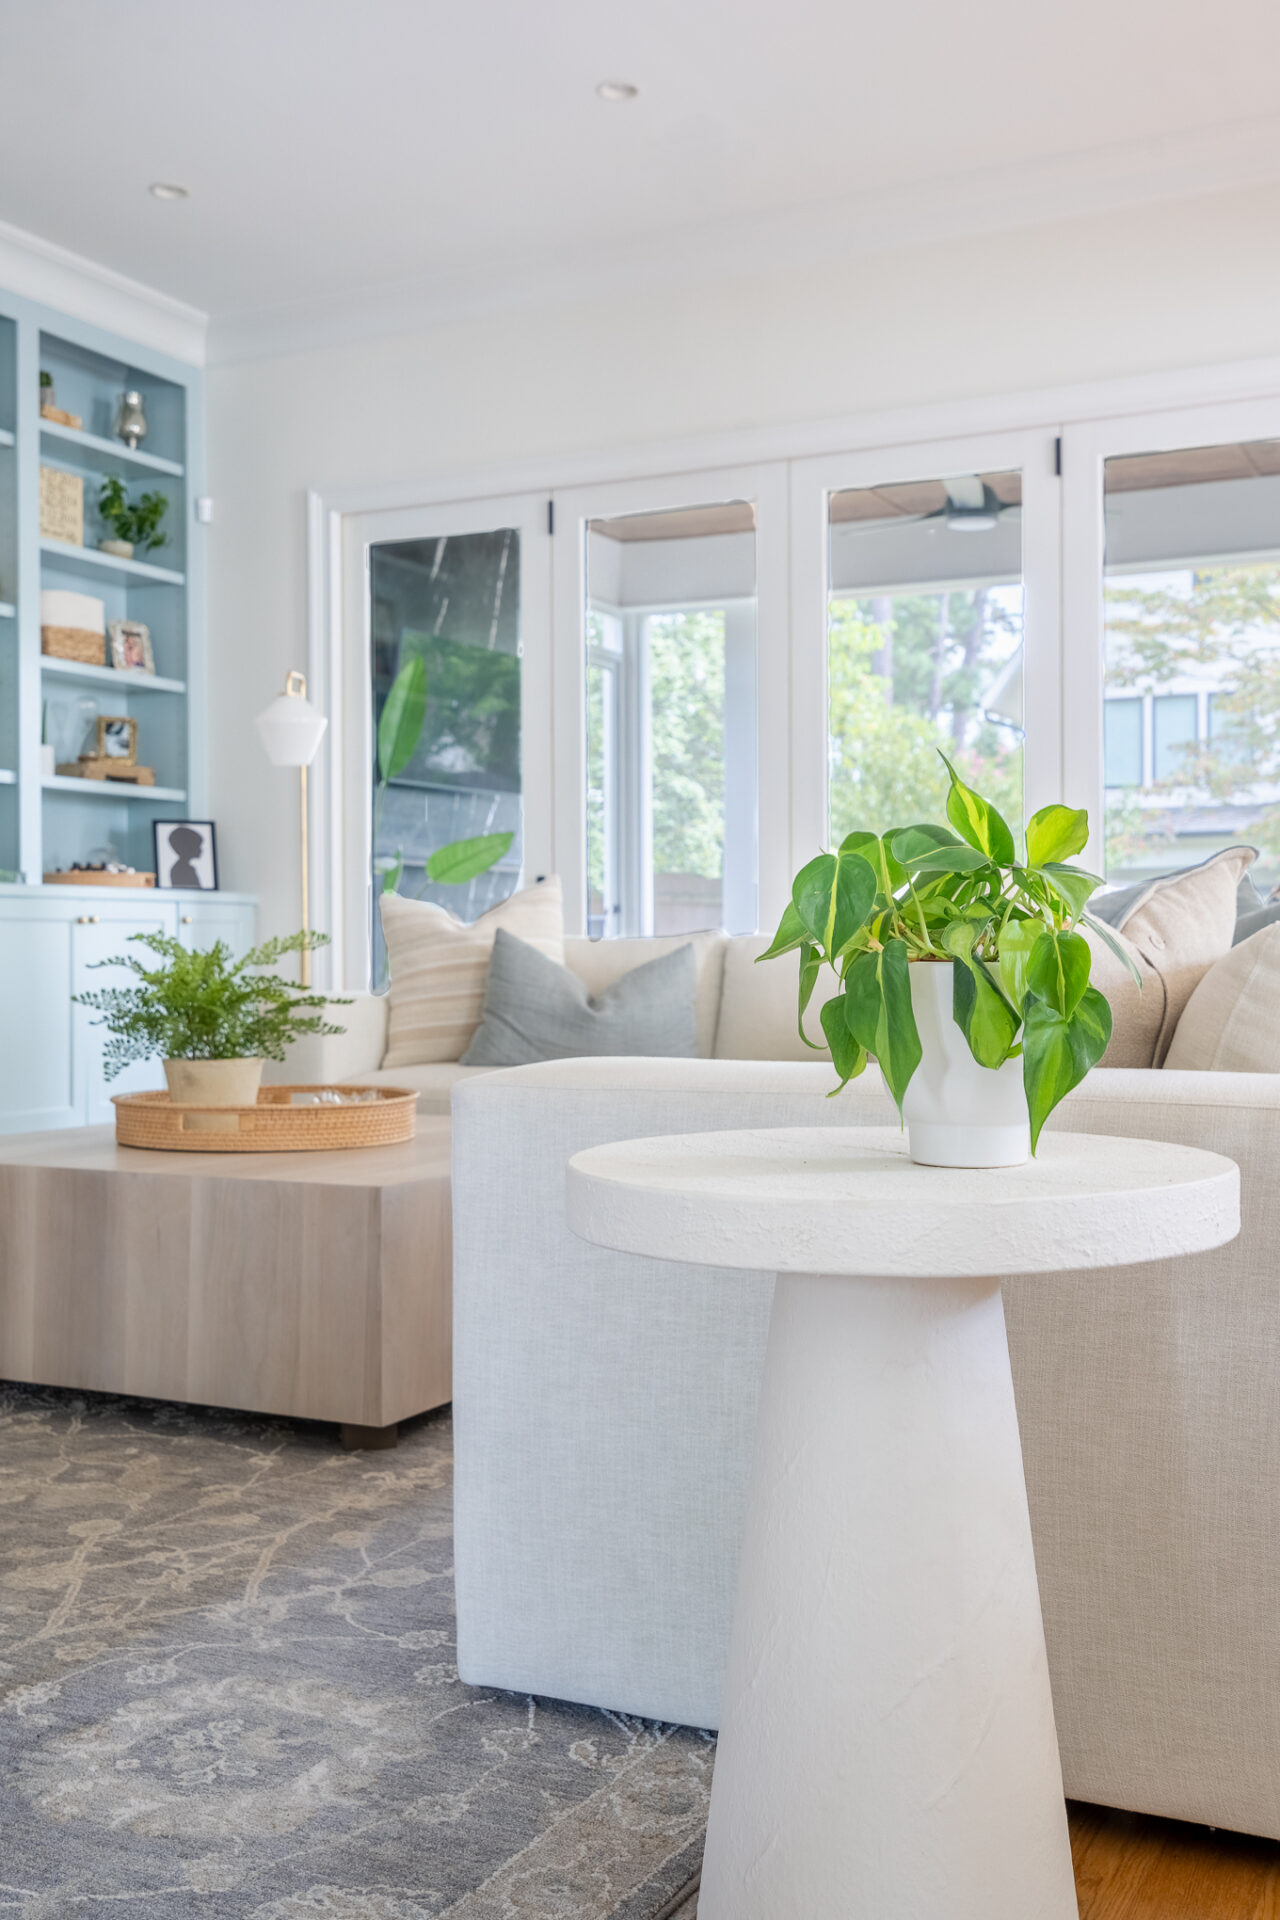
                • Incorporate texture into your decor with plants and flowers. A bit of greenery – even faux – is an easy way to make a space feel homier.

                  christmas holiday decor

                  TIME FOR A COZIER COLOR PALETTE

                  It’s well-known that colors can influence our moods – and they can influence the mood of a space, too. To warm up your space, work with rich, earthy tones and warm neutrals. Don’t worry! You don’t have to paint your walls burnt orange to capture that warmth. You can incorporate a warm color palette in lots of ways:

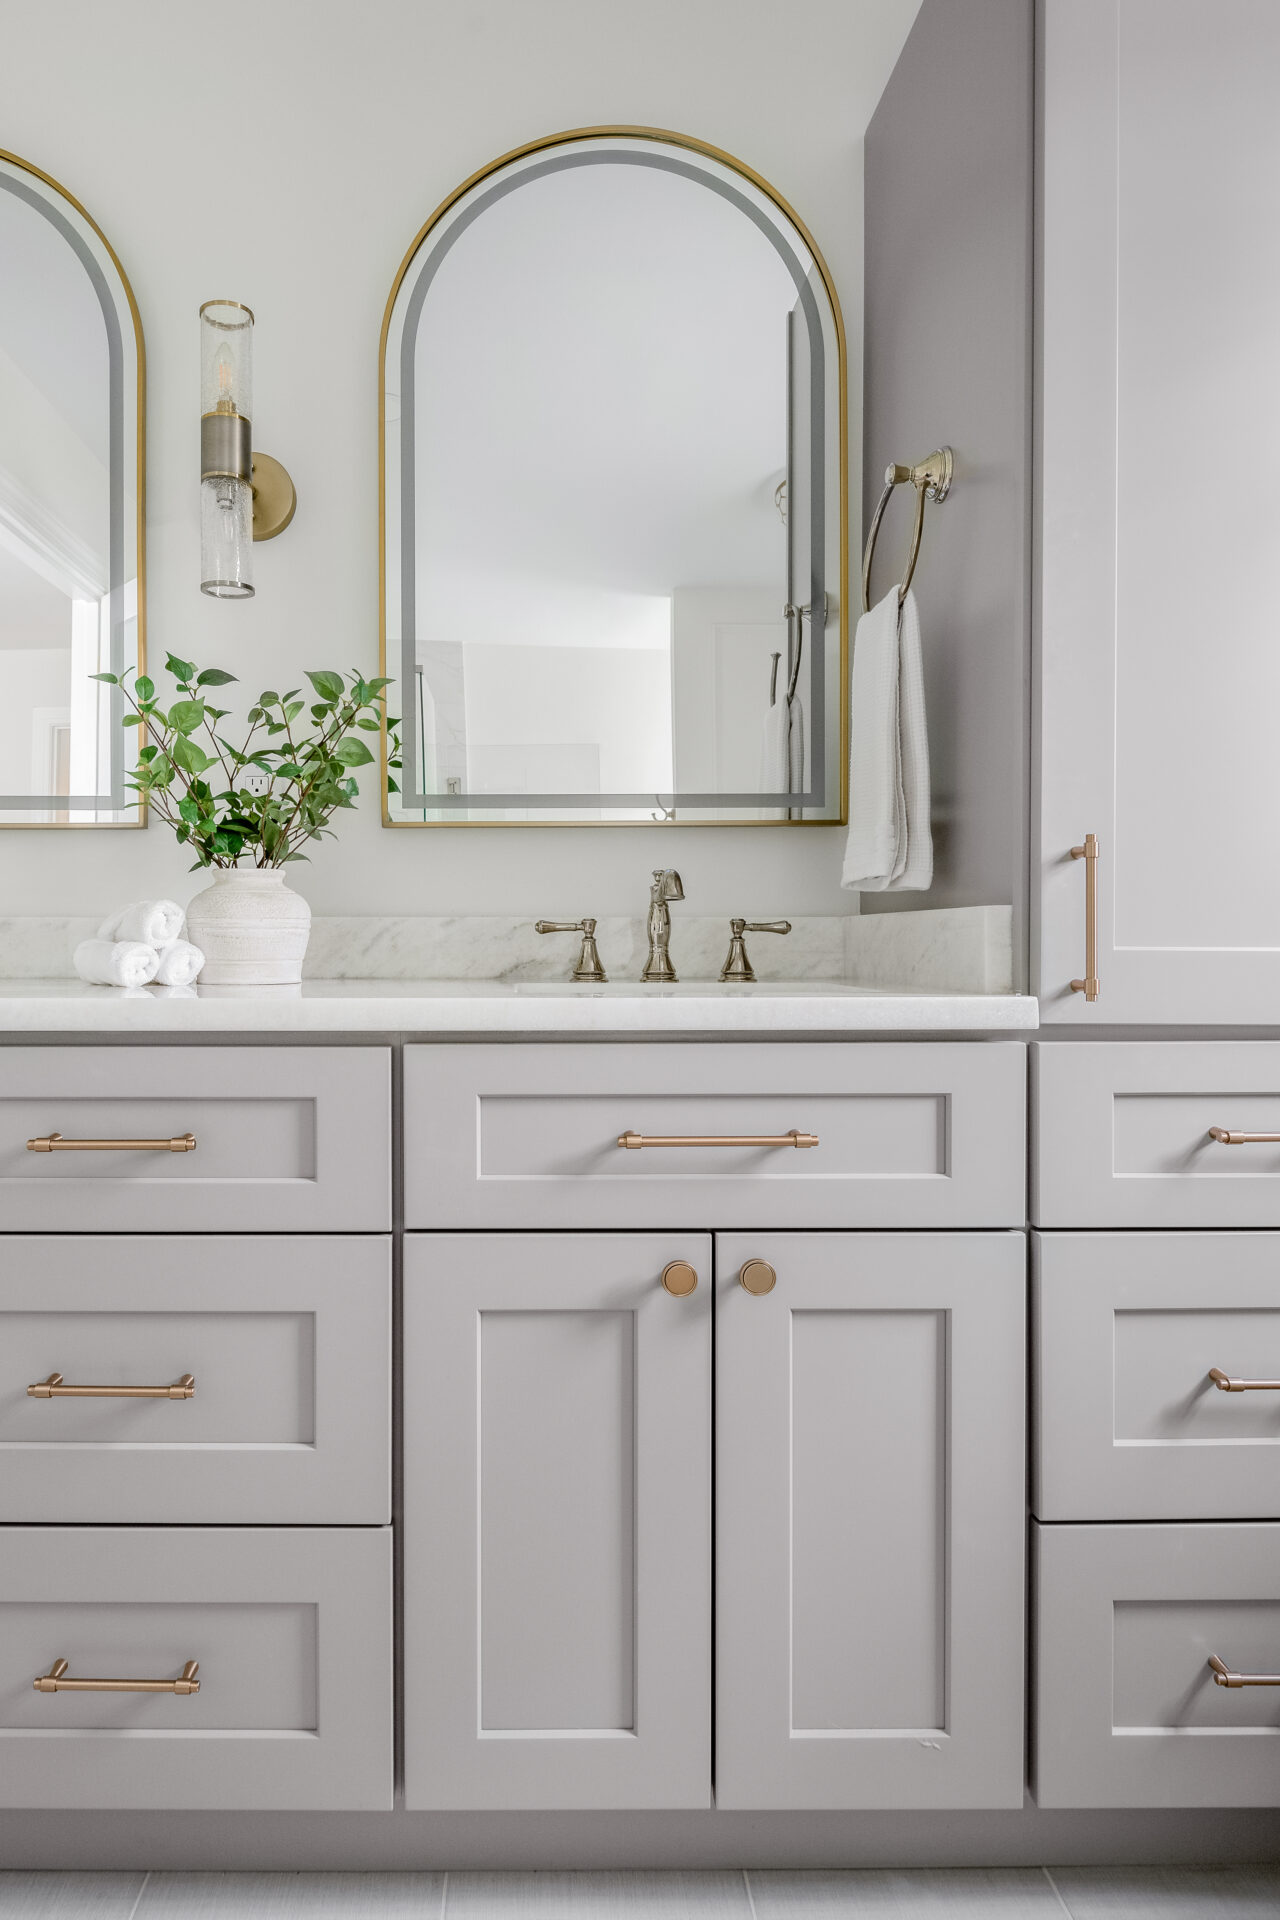
                  • Choose gold or bronze finishes – much warmer than their silver counterparts – for lighting and plumbing fixtures, curtain rods, and other metal elements.
                  • Incorporate richly colored upholstery and drapery to make a room feel more intimate and cozy.
                  • Think about your artwork. Even if your walls are light and neutral, artwork can add pops of deep, rich color to warm up a space.

                  LOTS AND LOTS OF LIGHTING

                  If you only have one overhead light in your living room, you might consider shaking things up. A layered lighting approach with a combination of light sources can help make a space feel cozier. Don’t be afraid to play with both the amount of lighting and the type of lighting.

                  • Supplement your overhead fixture with table lamps, floor lamps, wall sconces, and even candles.
                  • Switch out those jarring LED bulbs for softer, warmer-toned 2700-3000 Kelvin bulbs that help create that cozy ambiance. We recommend the GE’s line of Relax LED bulbs.
                  • Add dimmer switches to control the intensity of the light for quiet evenings when you want to be at your warmest and coziest.

                  These are just three ways to warm up your space with interior design. There are other ways to add coziness, like incorporating comfortable seating and adding sentimental accents to your decor.

                  A cozy room is about more than aesthetics; it’s about how you feel spending time in your space. At the end of the day, anything that helps your house feel more like home is an excellent way to add warmth.