A Place for Family: Brier Creek Before & After
")
This beautiful renovation took almost an entire year, but it was worth every moment. This house in the Brier Creek Country Club was built by Toll Brothers in the early 2000s and hadn’t seen any updates since. Our clients were a family of four with two young daughters and relatives from France that frequently flew in to visit for extended periods, so our goal was to give them a functional family space with plenty of style.
Kitchen
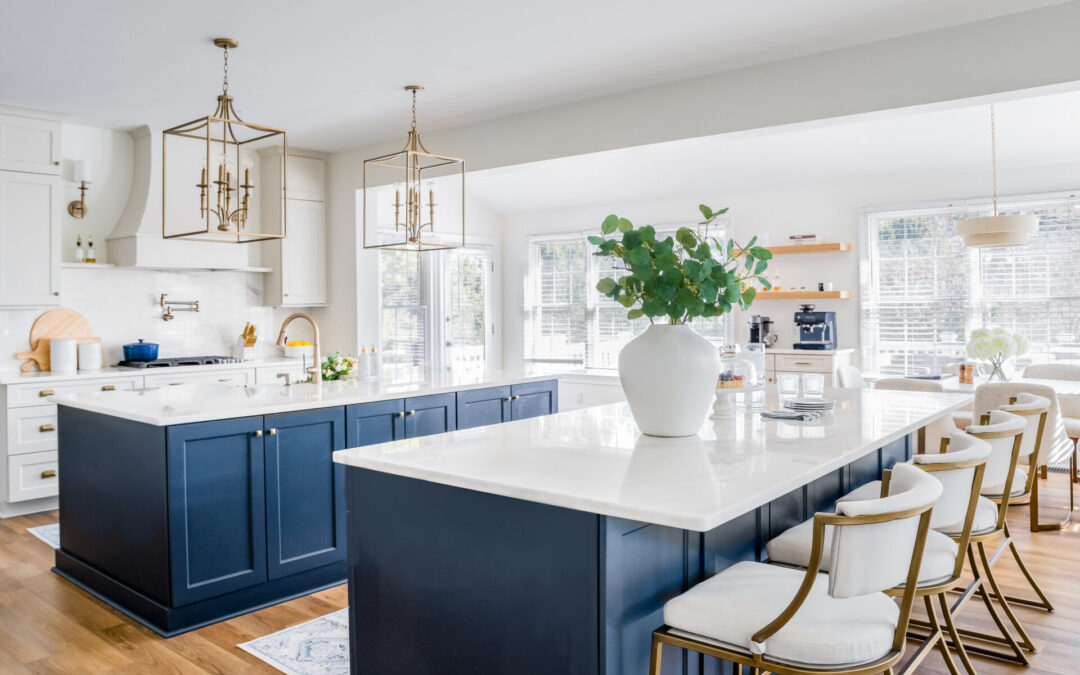
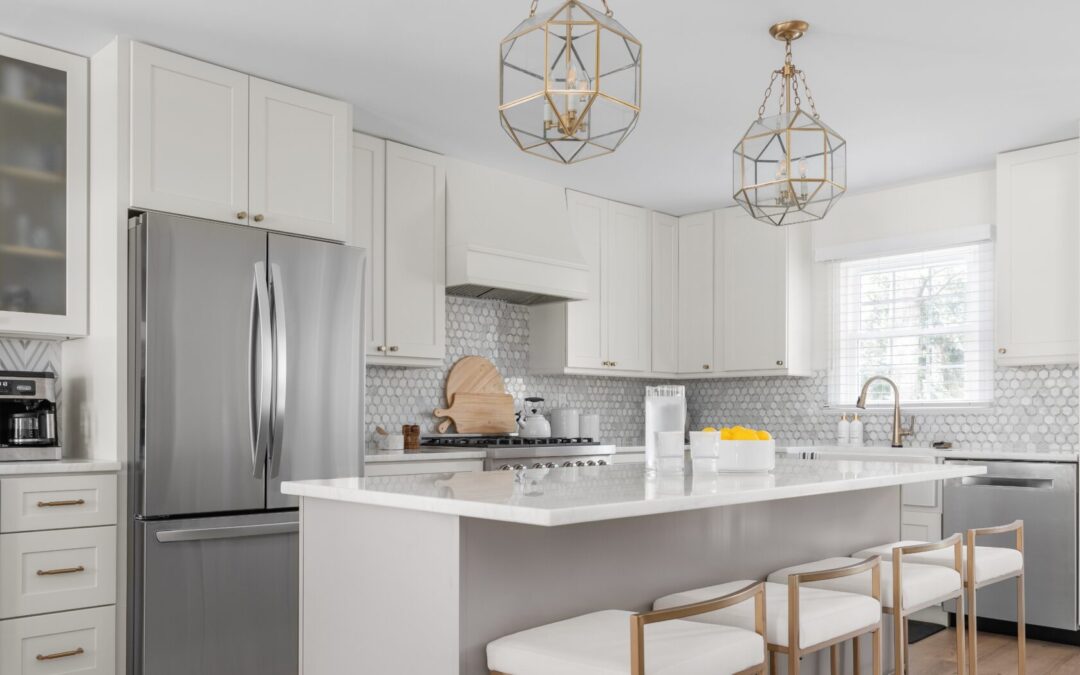
The kitchen was the focal point of this transformation. The narrow island and closed-off U-shape just weren’t working, and the tile flooring in the kitchen clashed with the engineered hardwoods throughout the rest of the house, breaking up the floorplan even more. This cramped, outdated kitchen wasn’t just visually unappealing – it was impractical for this busy family!
To open up the floorplan, we installed a 20-foot structural steel beam that allowed us to remove the wall between the kitchen and the sunroom. This made space for a double island, perfect for prep, cooking, and entertaining, with ample seating that flows seamlessly into the dining room, accommodating up to 10 people.
We updated all the appliances in the kitchen, including a double wall oven, a large gas cooktop, a convenient pot filler, drawer microwave, dishwasher, and a new built-in refrigerator. We used a classic color palette to brighten the space and incorporated timeless materials – a marble countertop, marble backsplash, and marble mosaic tile with fluted glass to add a touch of detail to the design.
One of the homeowners is French (meaning she loves her coffee and espresso!) so we completed the kitchen with a gorgeous coffee bar. We also got rid of the outdated tile and updated the flooring throughout the entire first floor, making for a harmonious, cohesive finish.
Bathrooms
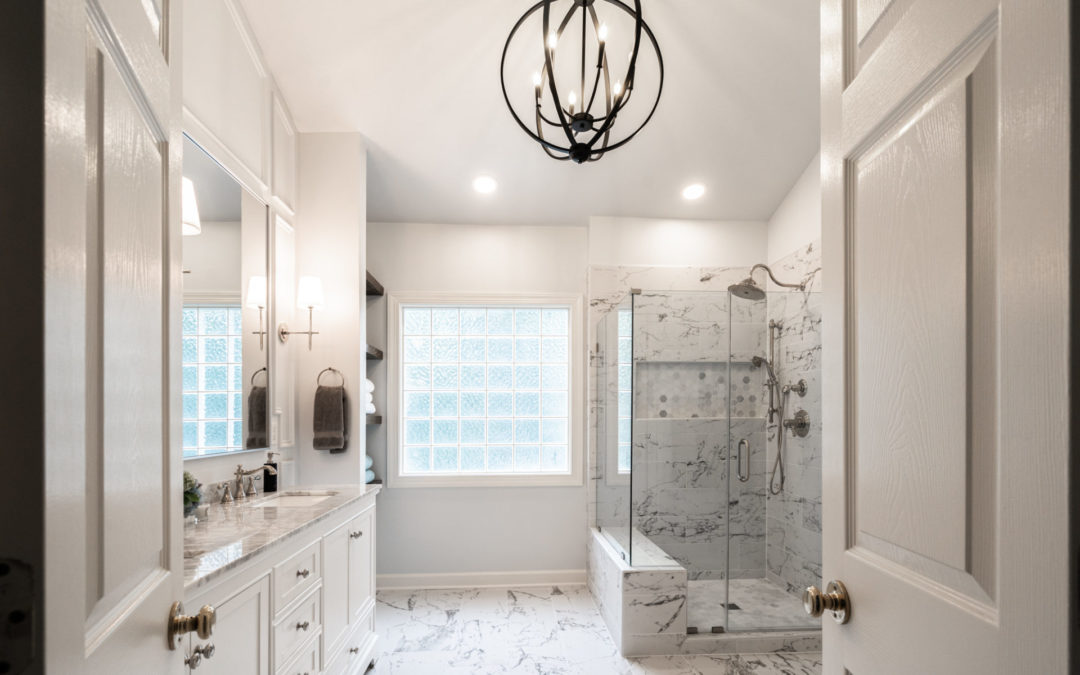
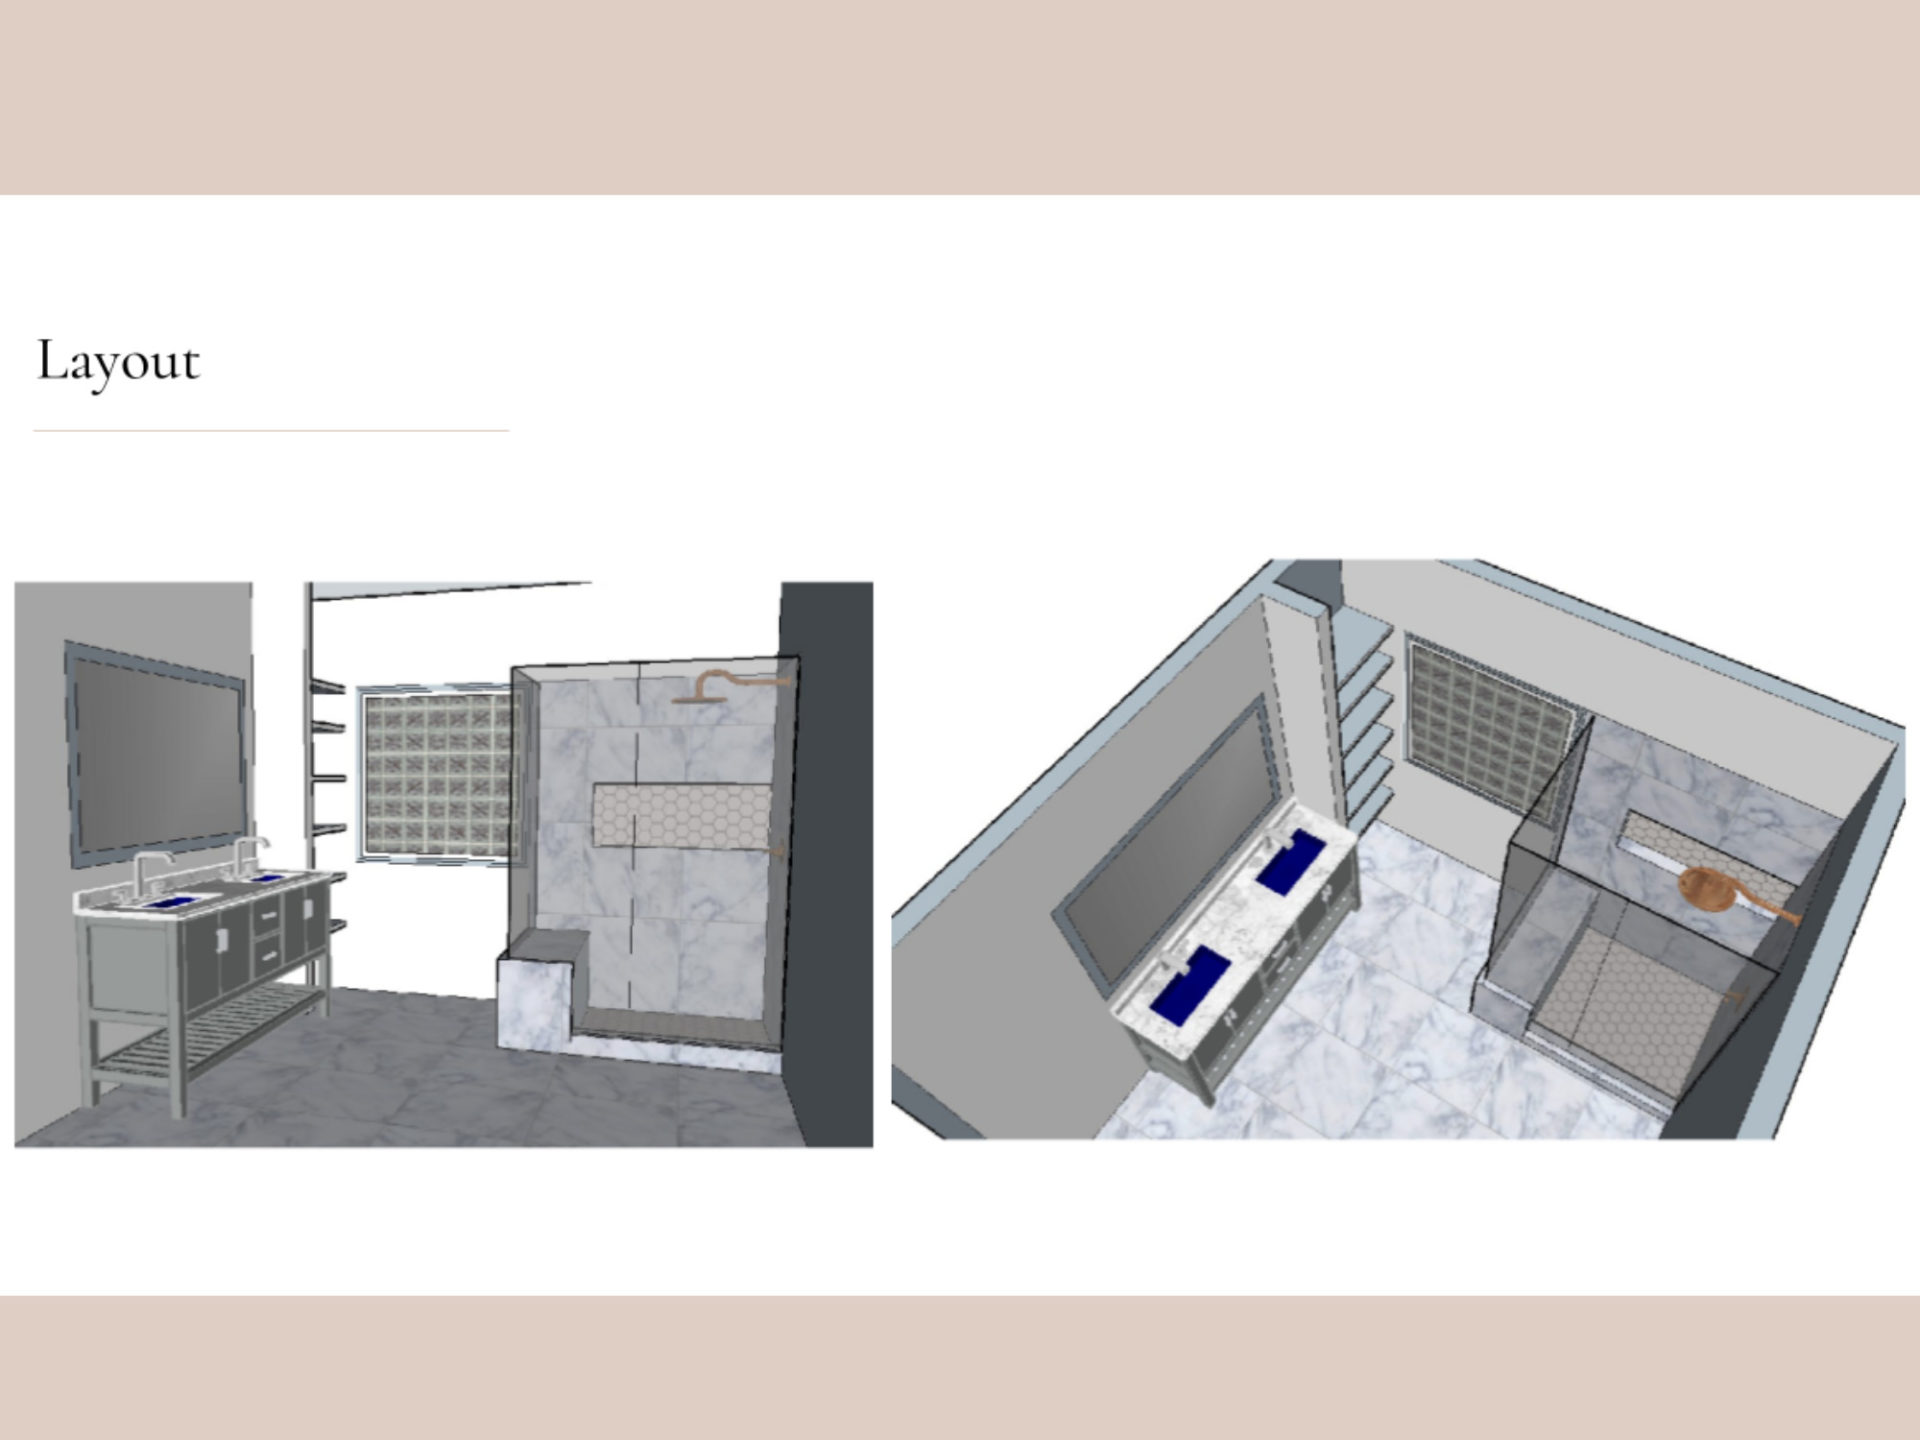
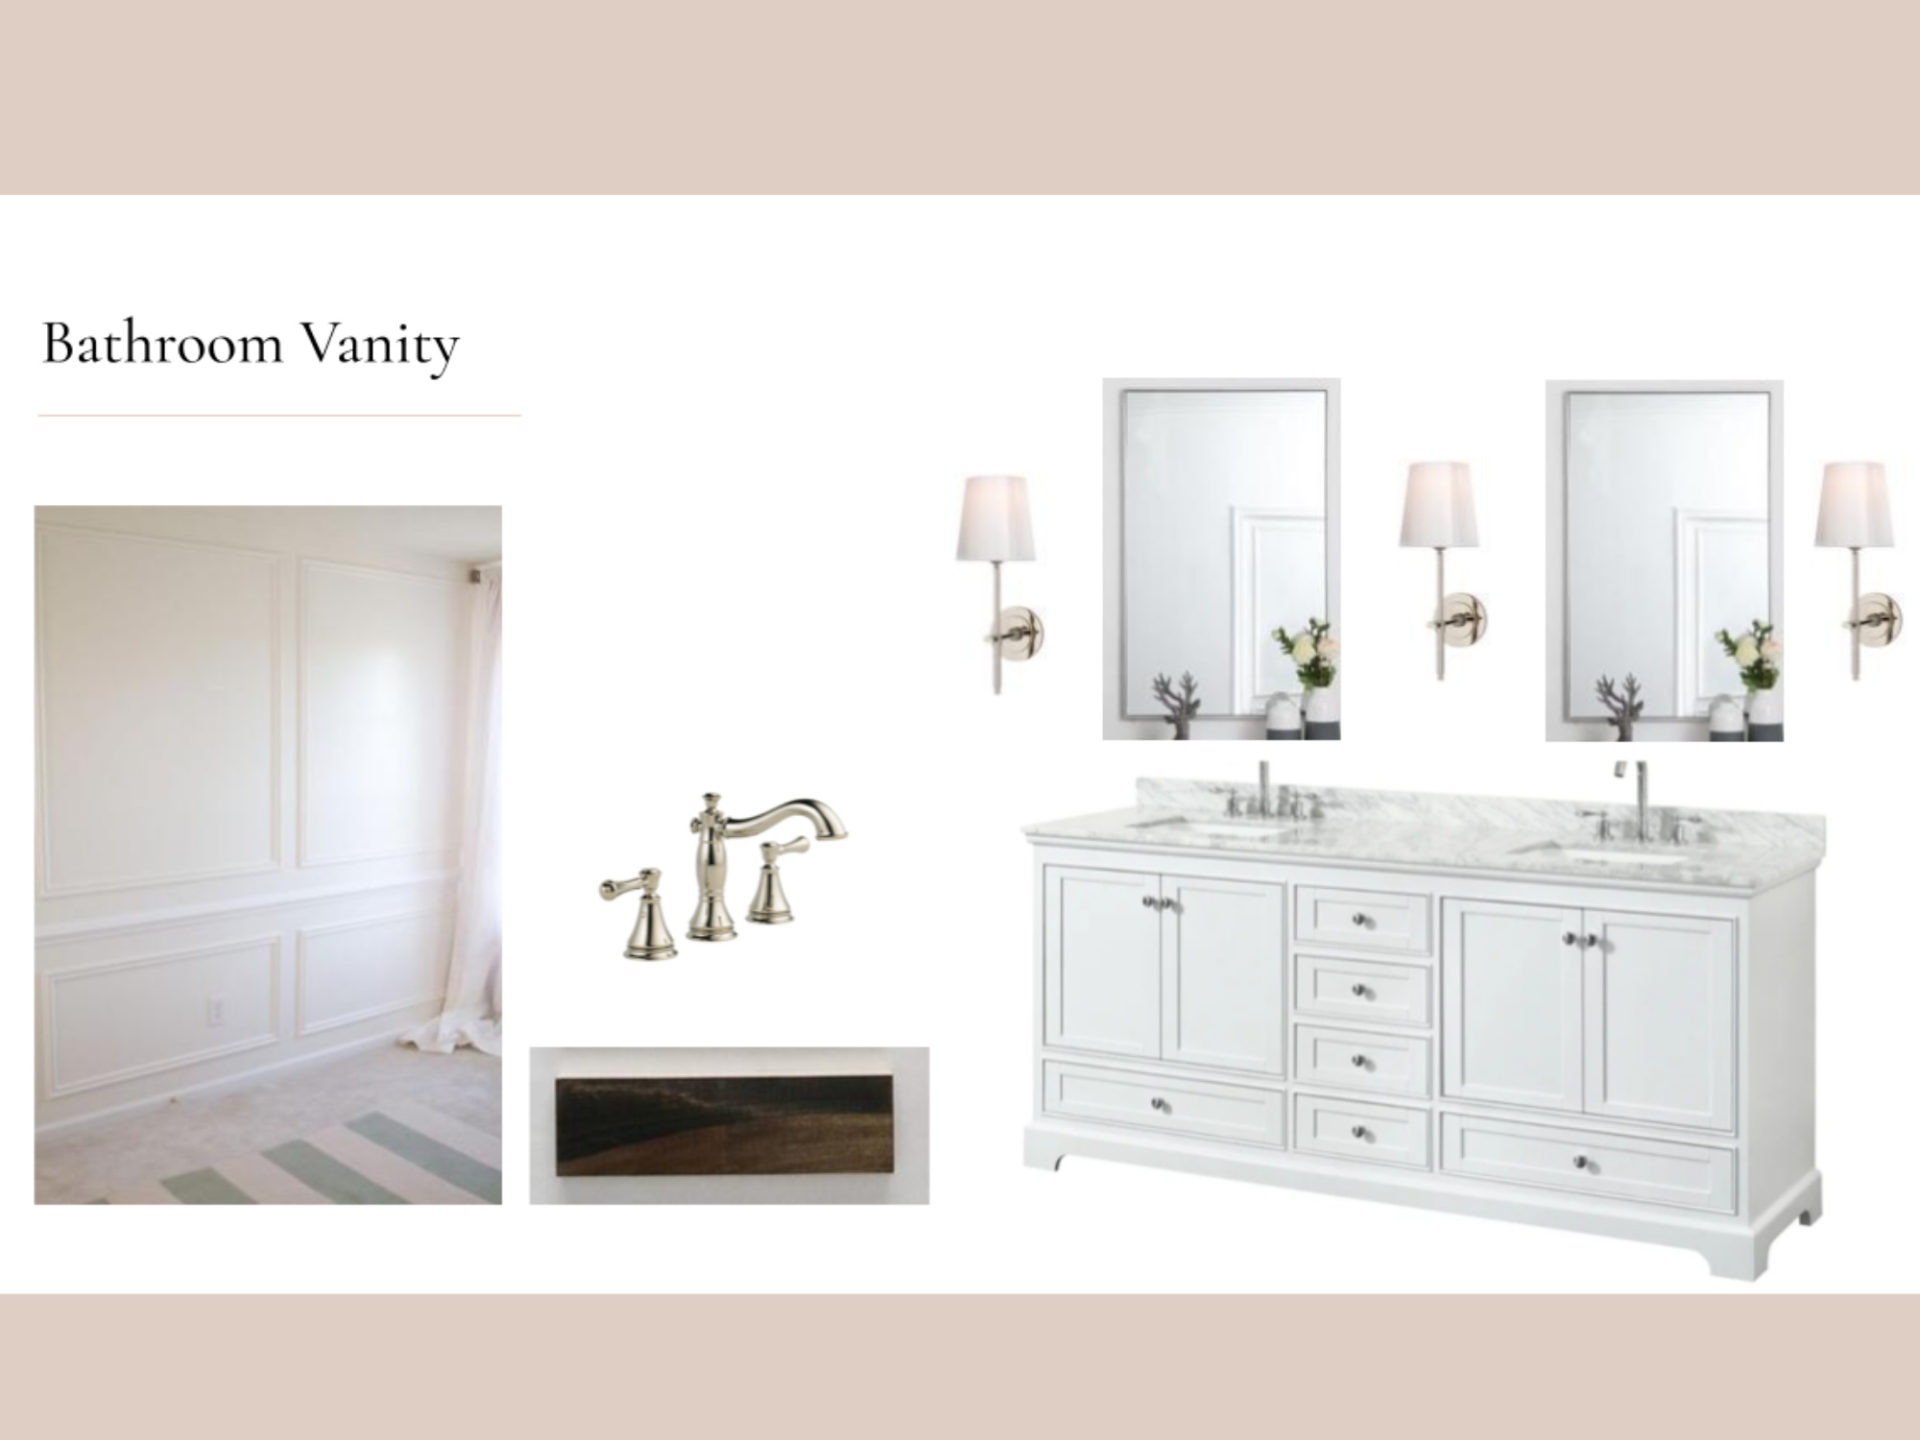
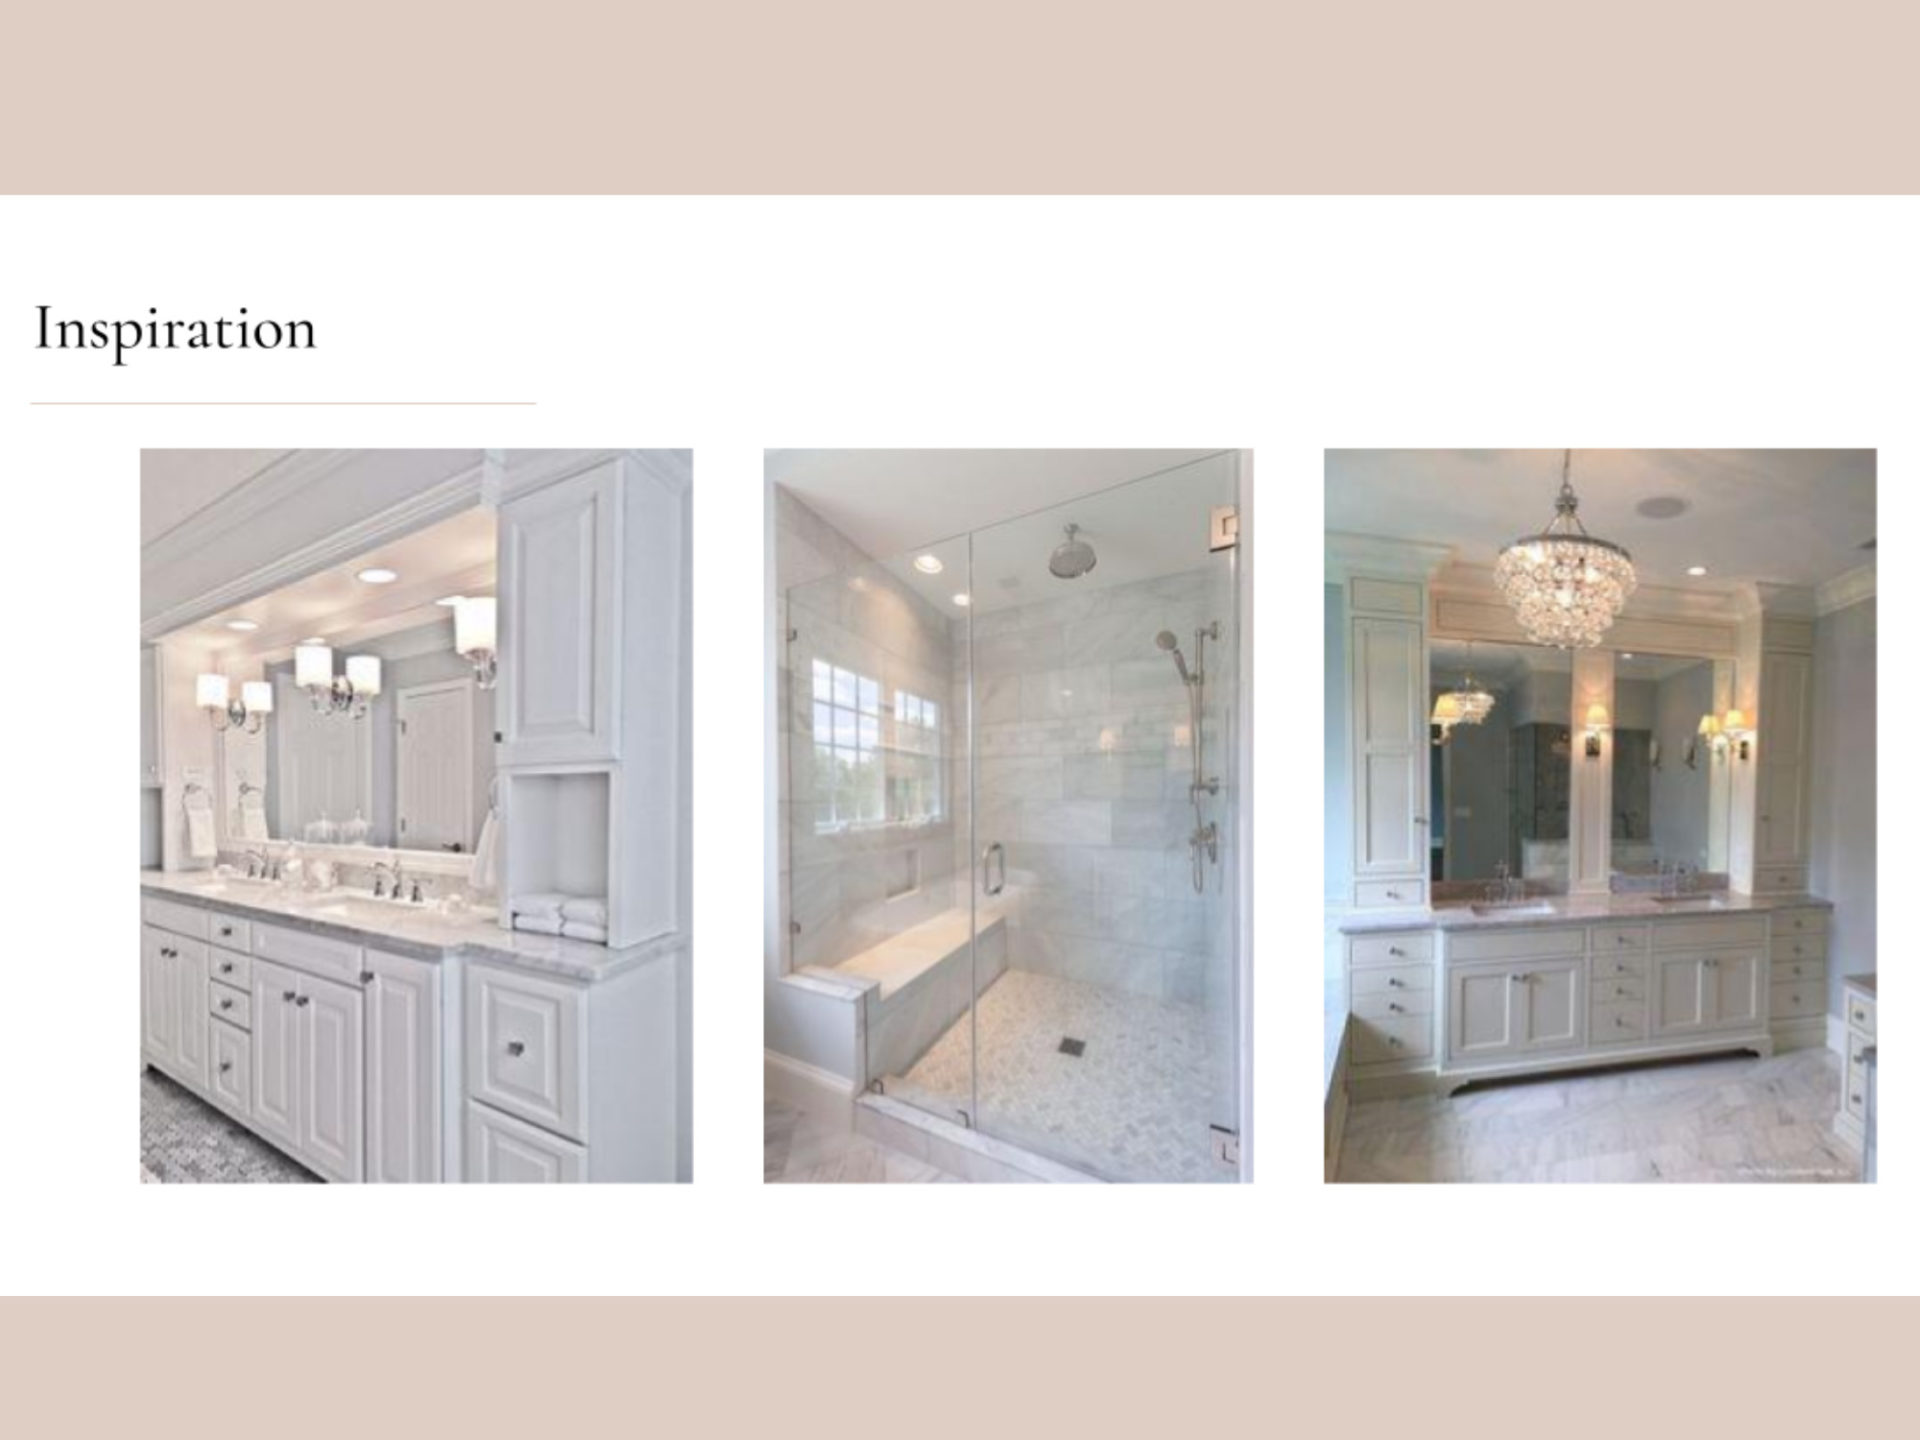
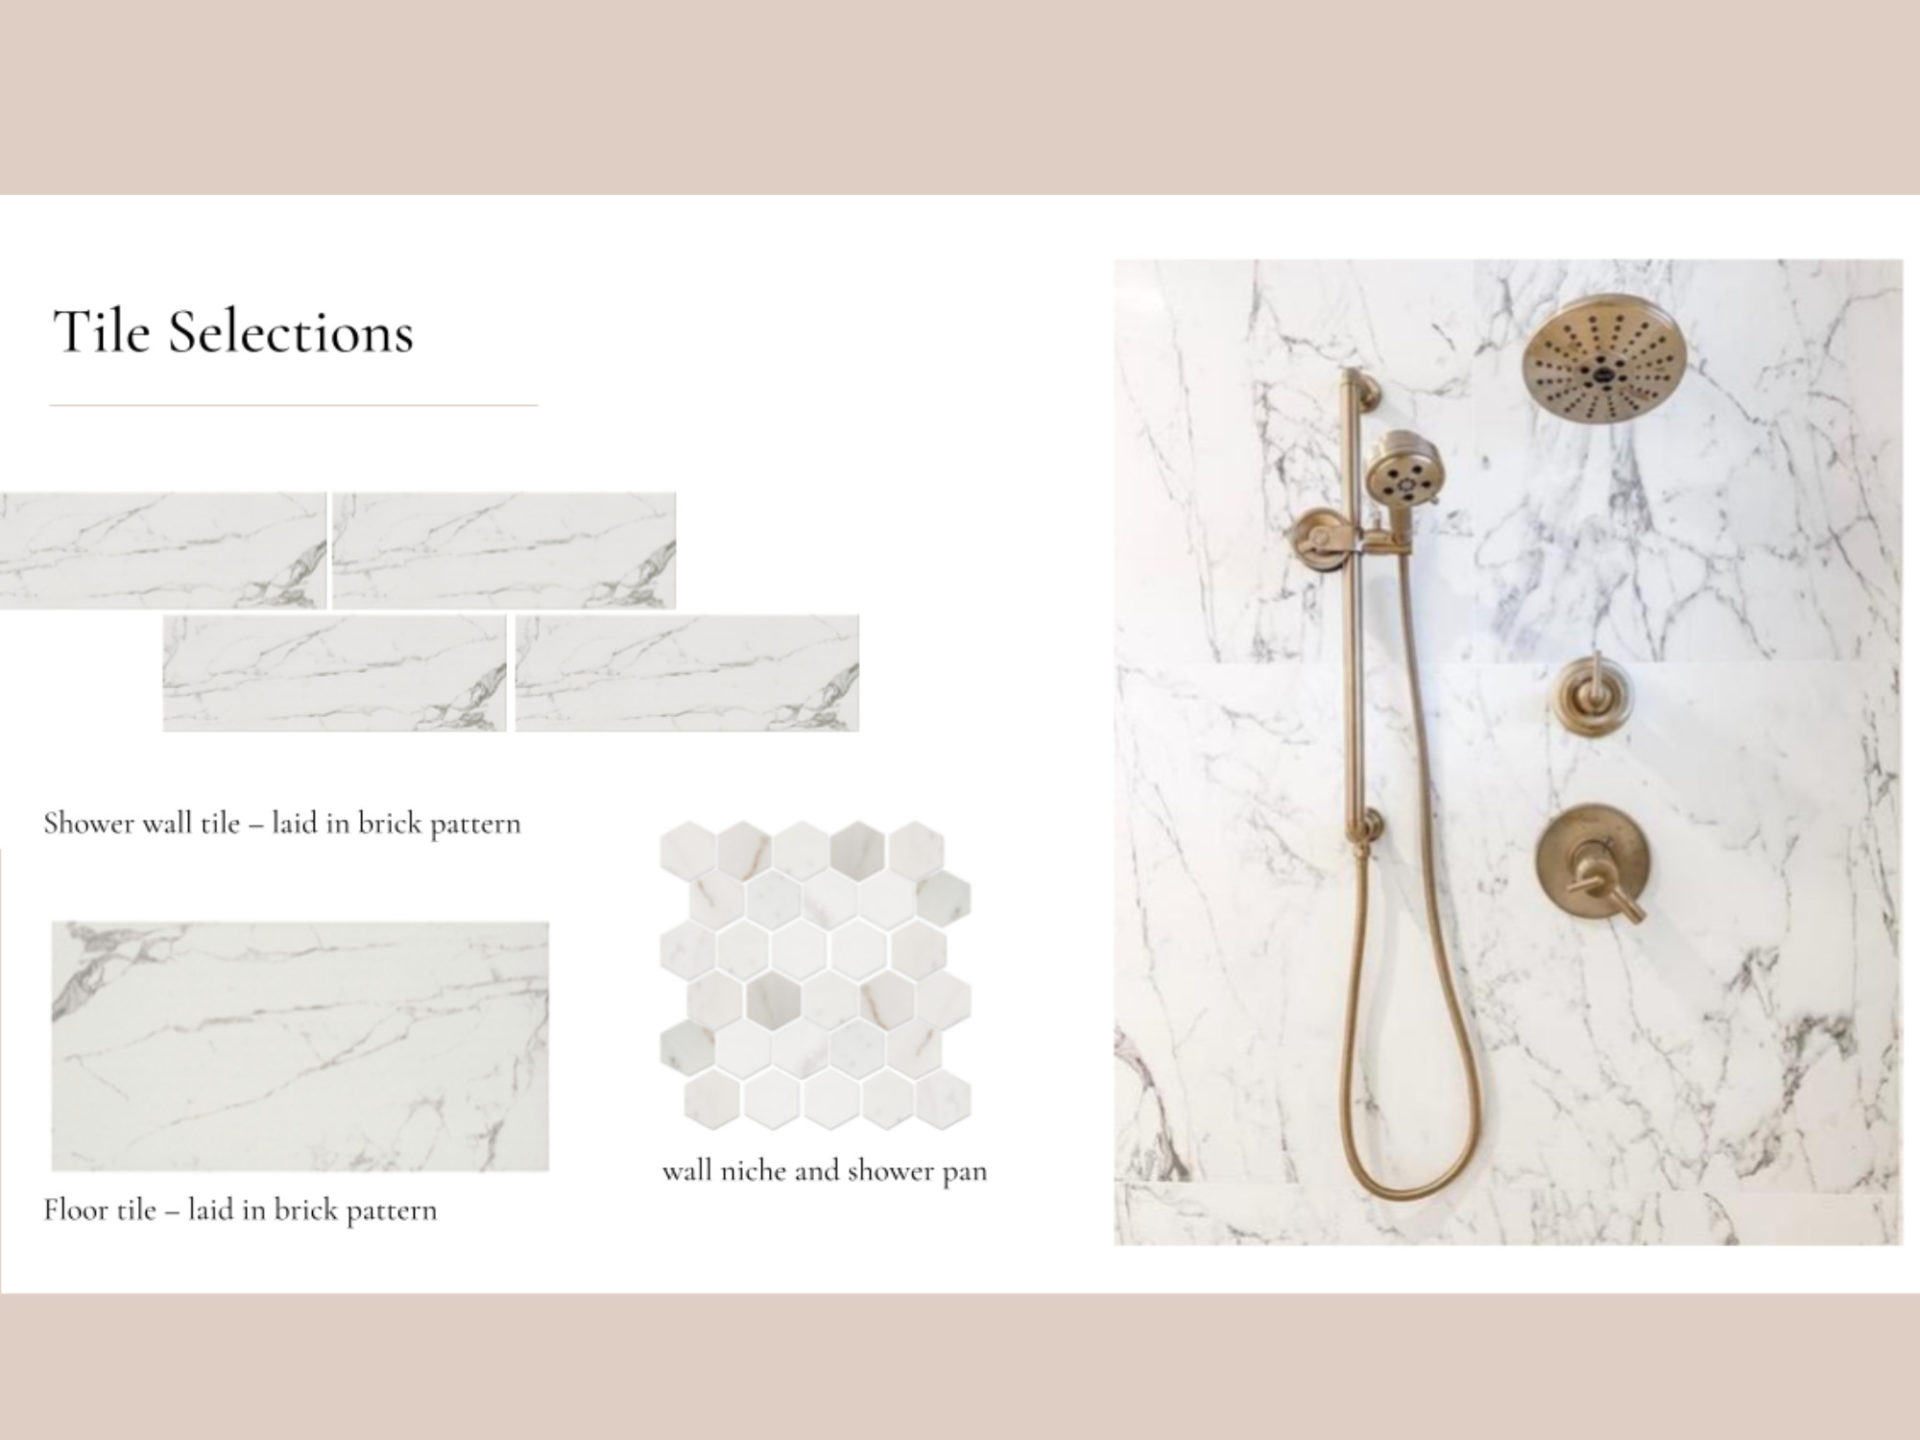
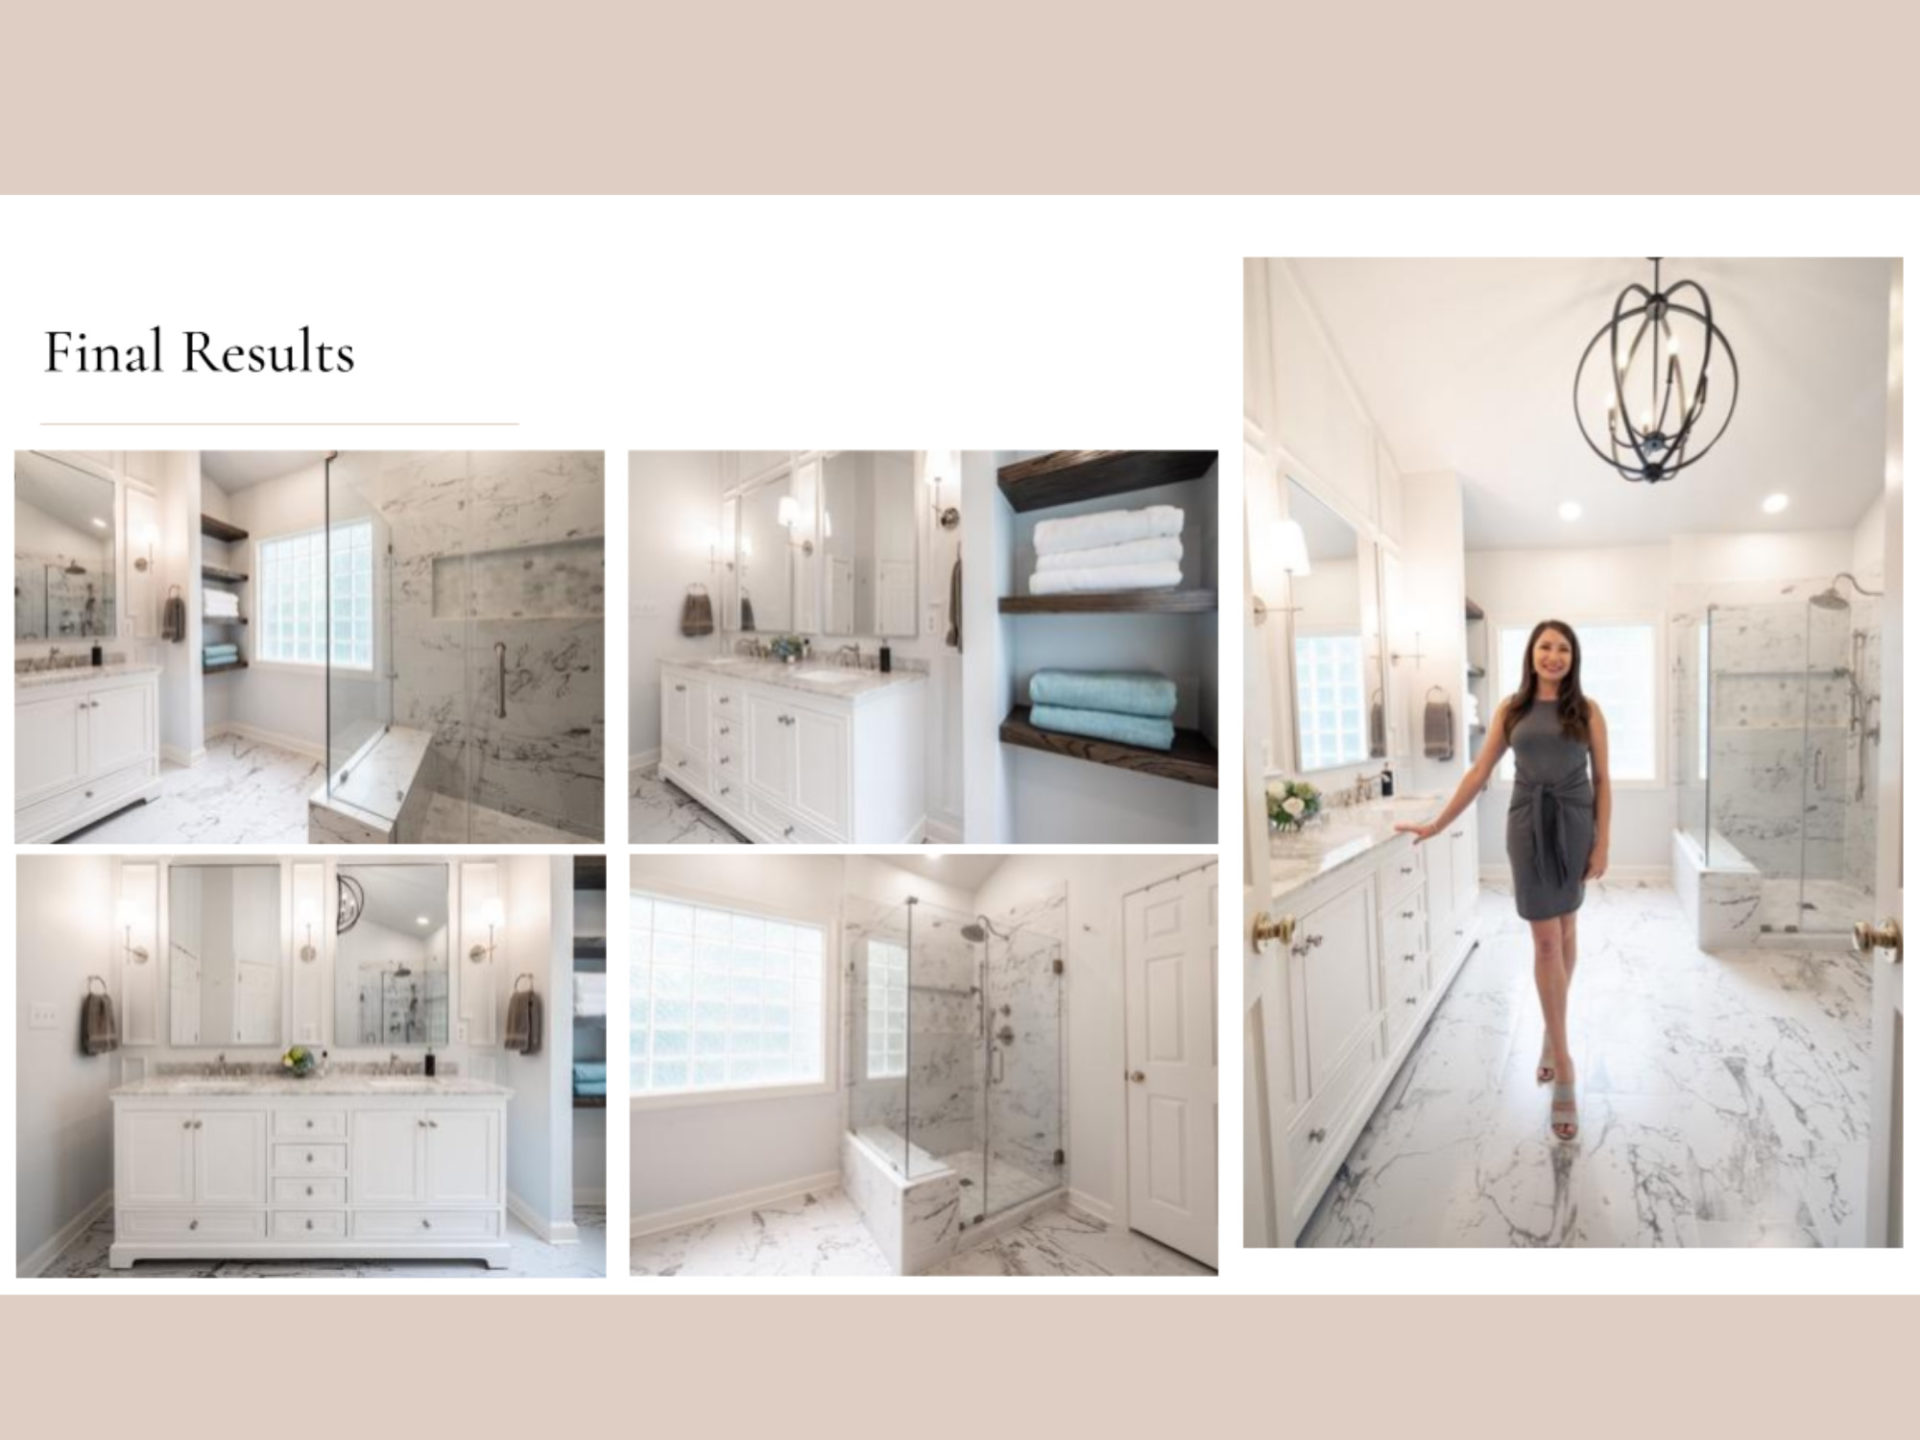
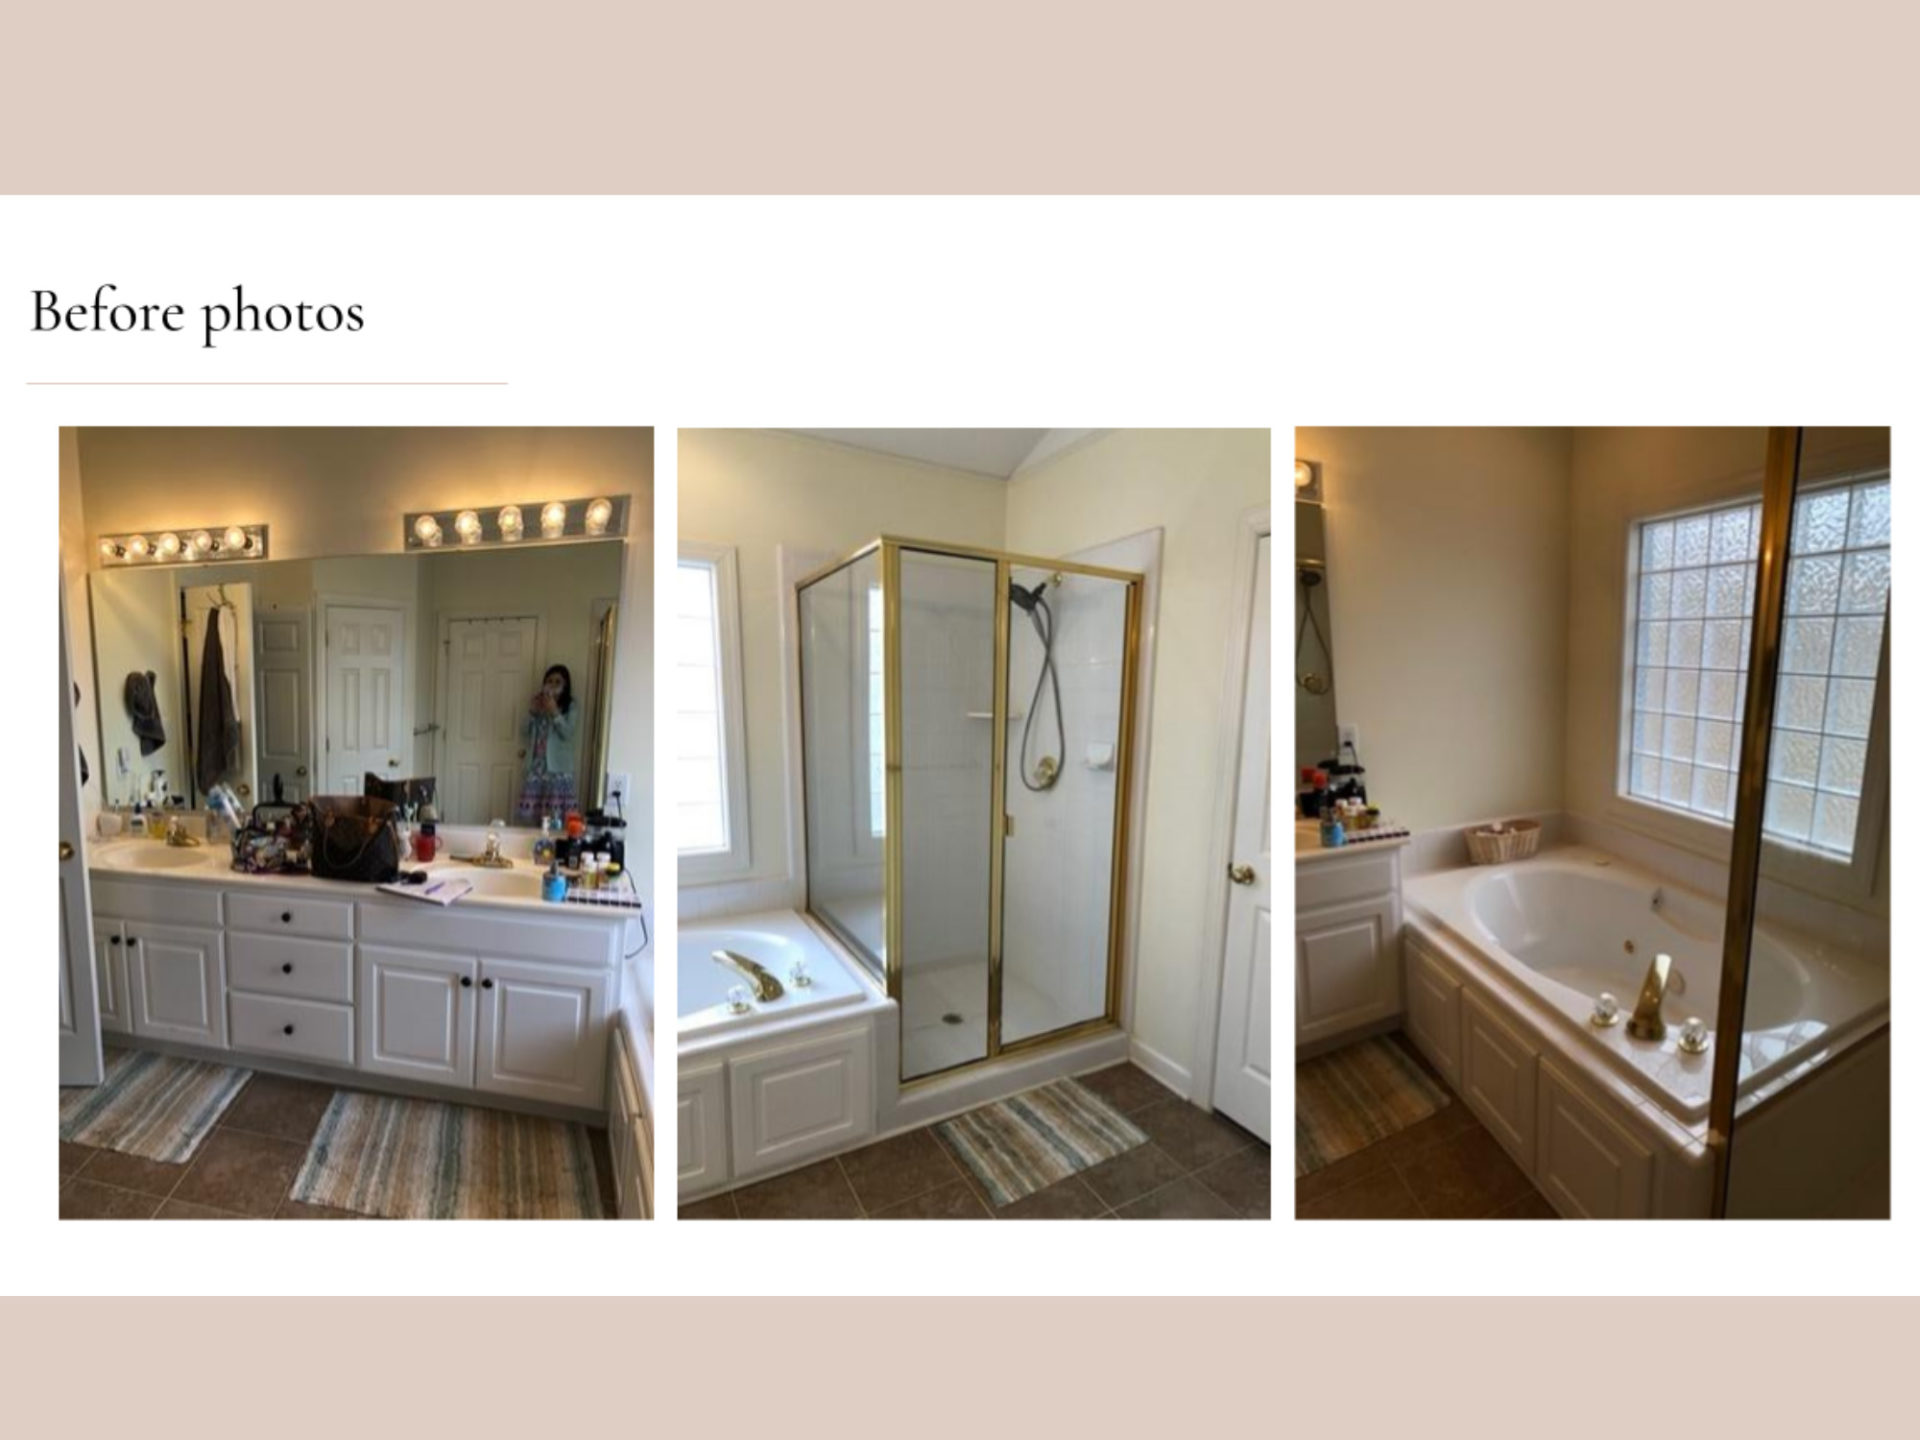
All the bathrooms in the home were very plain and builder grade, though the primary bathroom needed a lot more work. A large tub had been installed by a previous owner, and with very little walking space on one side, it definitely wasn’t to code. We replaced that outdated monstrosity with a tub against the back wall that was more appropriately sized but just as luxurious. Other luxury touches in the primary bathroom included a chandelier above the tub, more classic marble, fluted glass, gold finishes, his and hers vanities, decorative tile in the shower niche and, to top it all off, a heated flooring system.
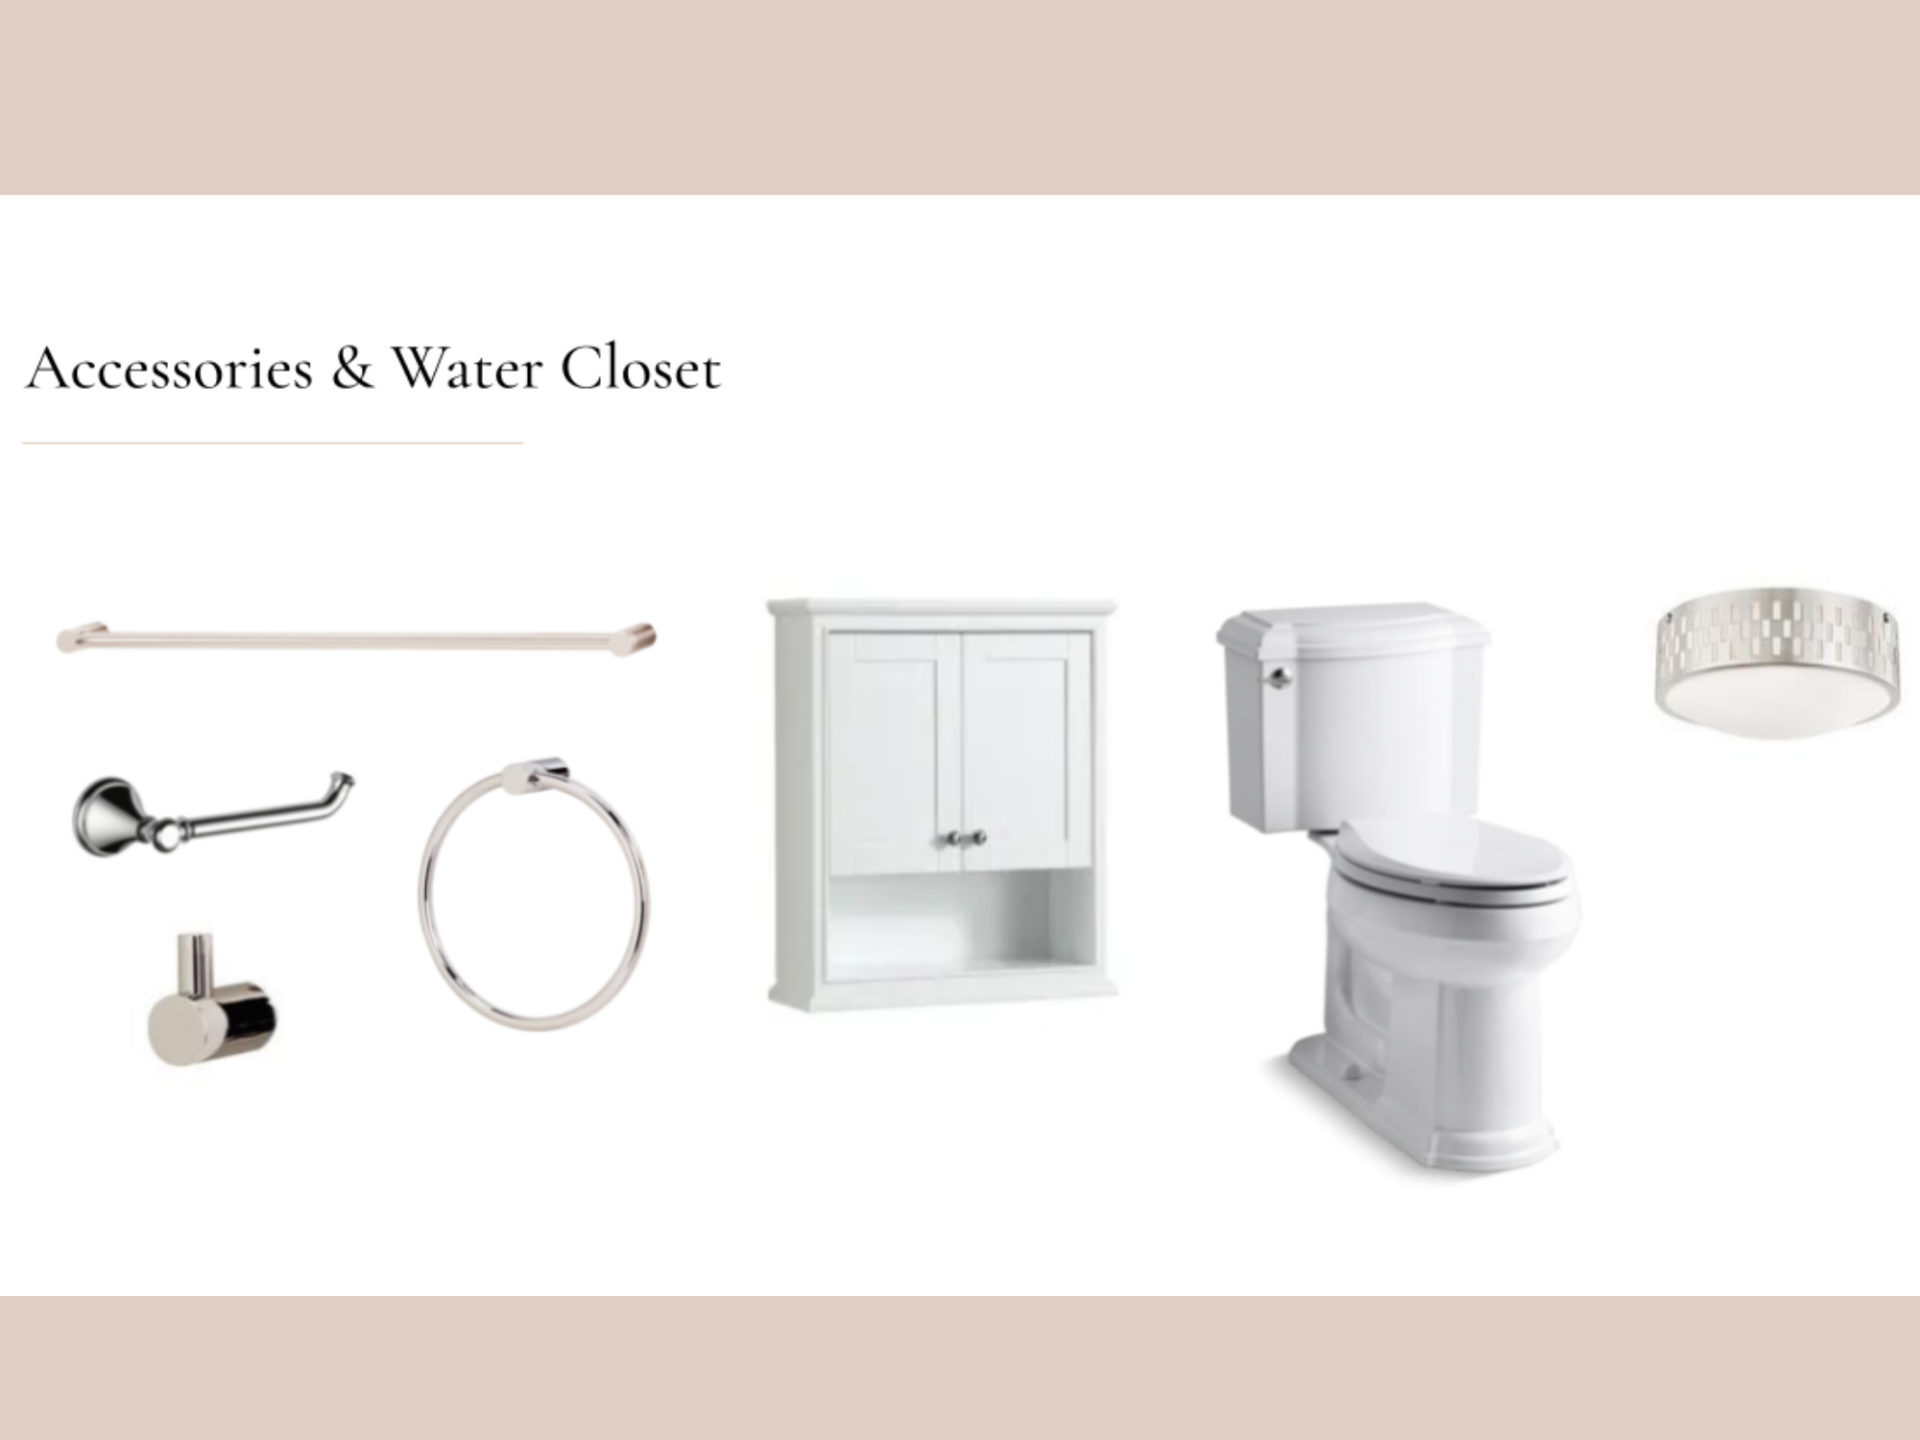
In the three remaining bathrooms, we updated all the fixtures and finishes and added fun, decorative touches throughout, like wallpaper, tile mosaics, and pops of color.
ADDITIONAL UPGRADES
In the foyer, we added a beautiful new chandelier to brighten the space. The laundry room got a new marble floor, updated cabinetry, a new sink, and floating shelves. We also created a built-in mudroom and a new closet for coats – plenty of practical storage for a family of four!
Finally, we transformed the husband’s office with custom built-ins and a dark, saturated paint in Peppercorn, giving the space a sophisticated, masculine vibe.
While we did some major renovations, there are a few details we didn’t change. We left the columns throughout the home and the ornate balusters on the staircase, maintaining some of the original charm while creating a beautiful, cohesive space with a bit of classic Parisian flair. Our clients are thrilled with the results, and so are we!


")
")
")


")
")